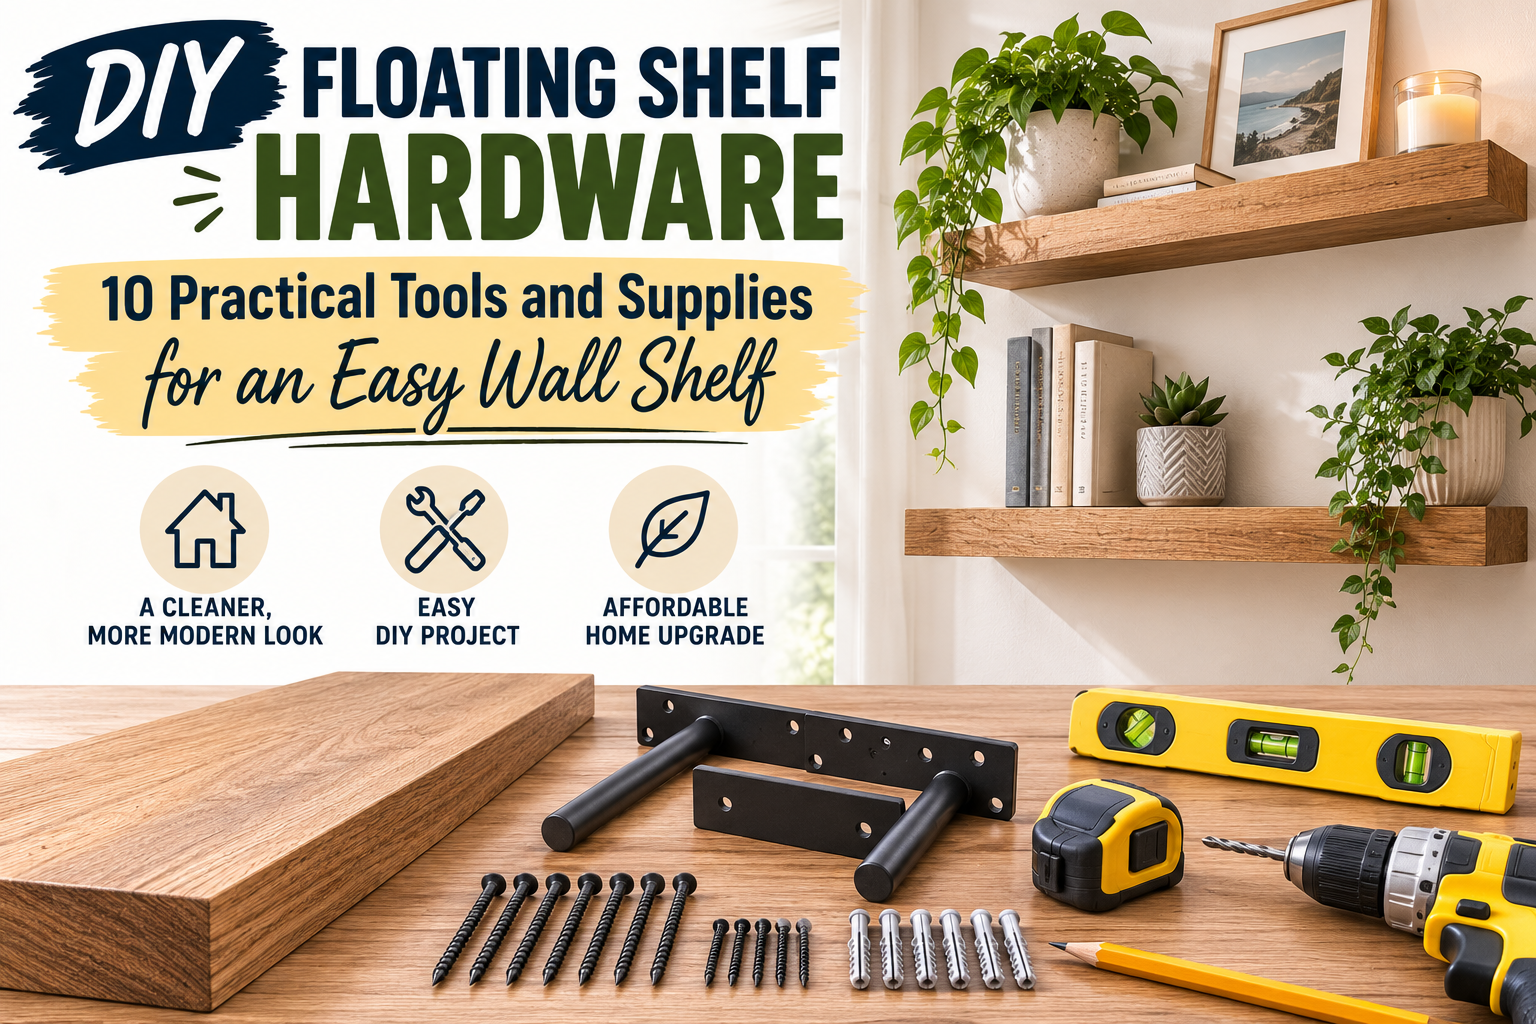
DIY Floating Shelf Hardware: 10 Practical Tools and Supplies for an Easy Wall Shelf
A simple set of wall shelves can add useful storage without bringing another bulky piece of furniture into the room. For bedrooms, apartments, home offices, and small living spaces, the right DIY floating shelf hardware can turn a basic wood board into practical display space for framed photos, small plants, books, and everyday decor.
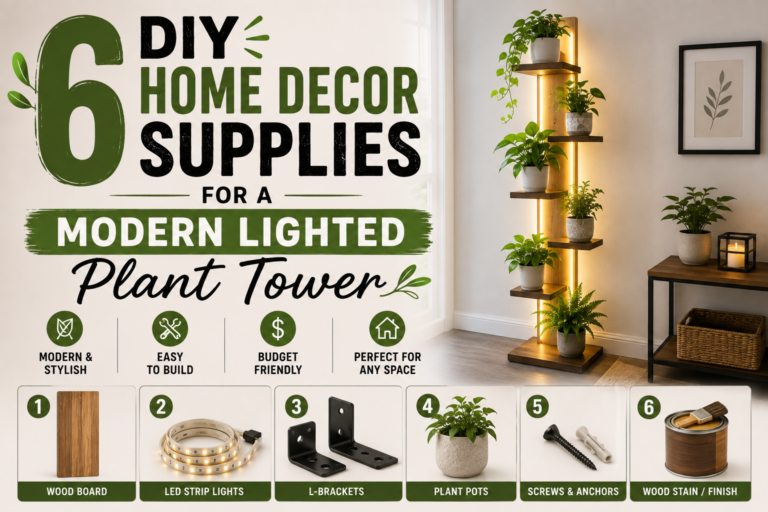
This particular approach uses metal corner braces rather than hidden floating-shelf rods. That makes it especially approachable for beginners because the hardware is simple, inexpensive-looking, and easy to understand. The tradeoff is that portions of the brackets remain visible, so it is more accurately described as a floating-style wall shelf rather than a completely concealed floating shelf.
The project also relies on several basic tools that are useful well beyond shelf installation. Here are the products worth considering before starting.
DIY Floating Shelf Hardware Essential: 6-Inch Zinc Corner Braces

The key support hardware for this shelf design is a set of metal corner braces. The featured hardware is labeled Everbilt, 6-inch, zinc, although the exact Amazon listing or equivalent product still needs to be confirmed before publication.
Corner braces are simple L-shaped pieces of metal normally used to reinforce right-angle joints. For a wall shelf, one side can sit against the wall while the other supports the underside of the wood board.
They are a good option for beginners who prefer straightforward hardware over a concealed floating-shelf mounting system. They also make it relatively easy to understand where the shelf is being supported.
Before ordering, check the depth and thickness of your shelf board along with the bracket dimensions. More importantly, verify the manufacturer’s intended use and load rating. A six-inch brace should not automatically be assumed suitable for every shelf or every load.
Unfinished Wood Shelf Boards

The shelf itself starts with simple light-colored wood boards. They appear unfinished, which gives the finished shelves a natural, minimal look that works especially well with neutral bedrooms, Scandinavian-inspired interiors, and casual apartment decor.
When shopping for a shelf board, think about what you actually plan to display. A shallow shelf may be enough for picture frames and small decor, while books, baskets, or larger planters require more usable depth.
Also inspect wood boards for straightness before installation. A visibly bowed or twisted piece will make leveling more frustrating. If you want to stain, seal, or paint your shelves, doing that before mounting is usually easier than finishing them against the wall.
Marking Pencil
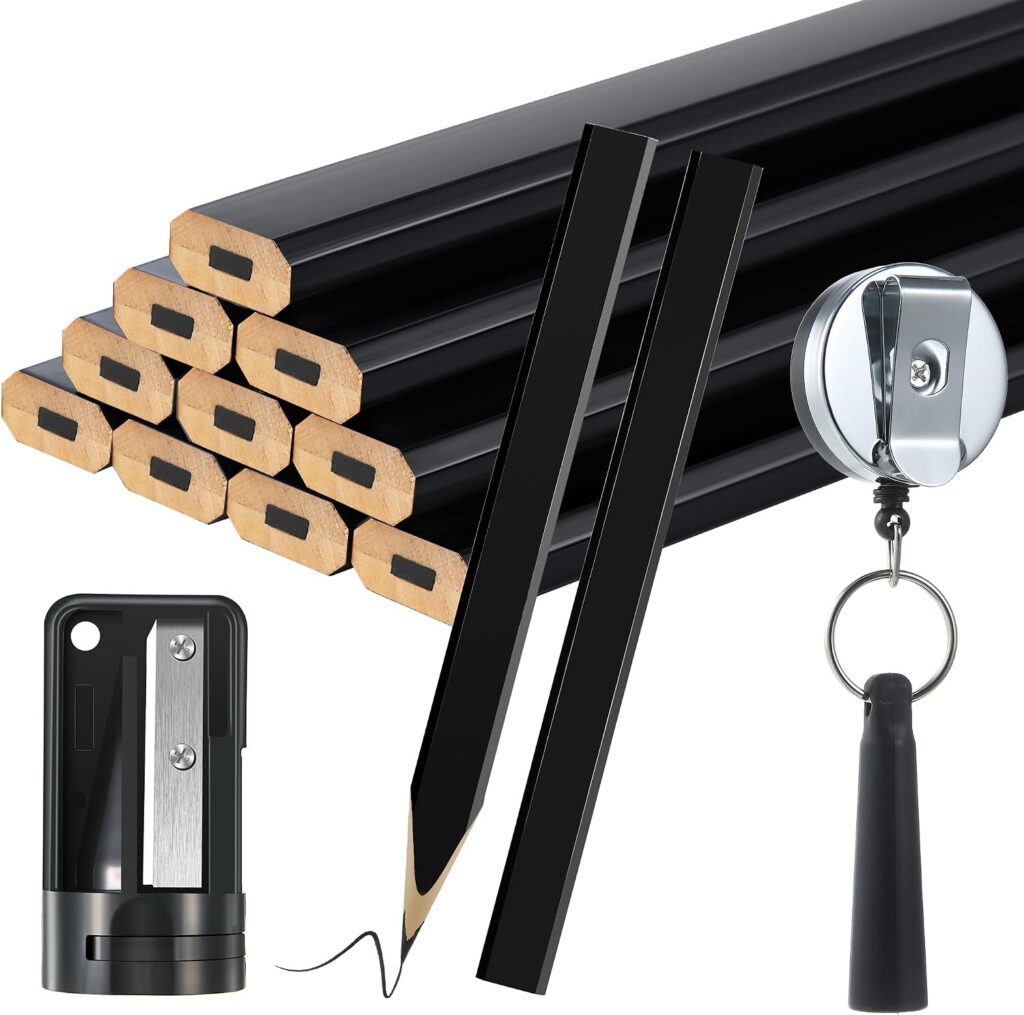
A basic marking pencil is one of those inexpensive DIY tools that prevents a surprising amount of frustration.
It is used to transfer the corner-brace hole positions onto the wood and can also help mark wall locations before drilling. Accurate marks matter because even a small change in bracket position can affect whether the shelf sits where you intended.
For shelf projects, choose something that makes a visible mark without creating an unnecessarily thick line. Fine marks give you a more precise target when positioning a drill bit.
And before drilling into the wall, double-check every mark against the shelf and level. Correcting pencil marks is considerably easier than repairing unnecessary holes.
Makita Cordless Drill/Driver
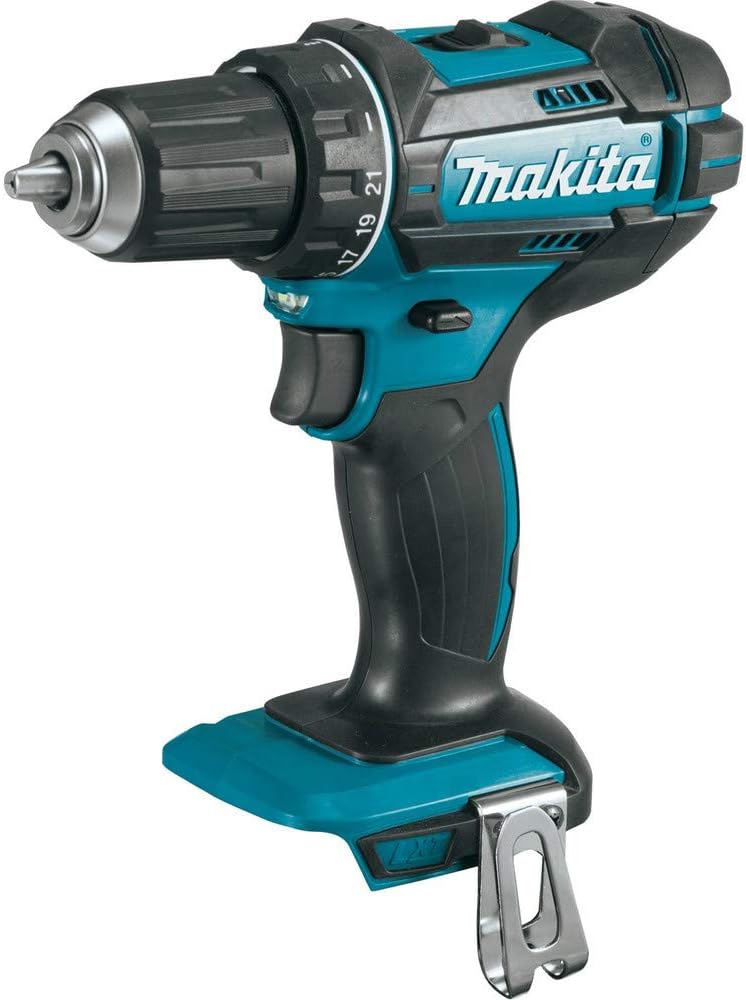
The same tool can be used for several stages: preparing holes, drilling into the wall where appropriate, fastening the brackets to the wood, and driving the shelf-mounting screws.
For homeowners or renters who plan to tackle more DIY projects, a cordless drill is one of the more versatile purchases on this list. Beyond shelves, it can help with furniture assembly, hanging hardware, simple repairs, and a long list of weekend projects.
You do not need to match the exact drill shown unless there is a specific reason to do so. Instead, confirm that your drill accepts the bits needed for your fasteners and wall material.
Always check the wall area for plumbing, wiring, and other hidden hazards before drilling.
Drill and Driver Bits

A cordless drill is only as useful as the bit attached to it. This project uses drilling and driving accessories at different stages, although the exact bit sizes and types cannot be verified.
That means the correct Amazon recommendation should be based on the screws, anchors, and wall material ultimately chosen for the published project.
For example, a wall-anchor manufacturer will normally specify the required hole size. Using a hole that is too large can prevent an anchor from gripping correctly, while forcing an anchor into an undersized hole can damage it.
A basic drill-and-driver bit set can be useful for homeowners because it gives you several sizes and driver profiles in one place. Just avoid choosing a bit by appearance alone.
Before publishing an exact recommendation, verify the screw-head style, anchor requirements, and wall material.
Green Painter’s Tape
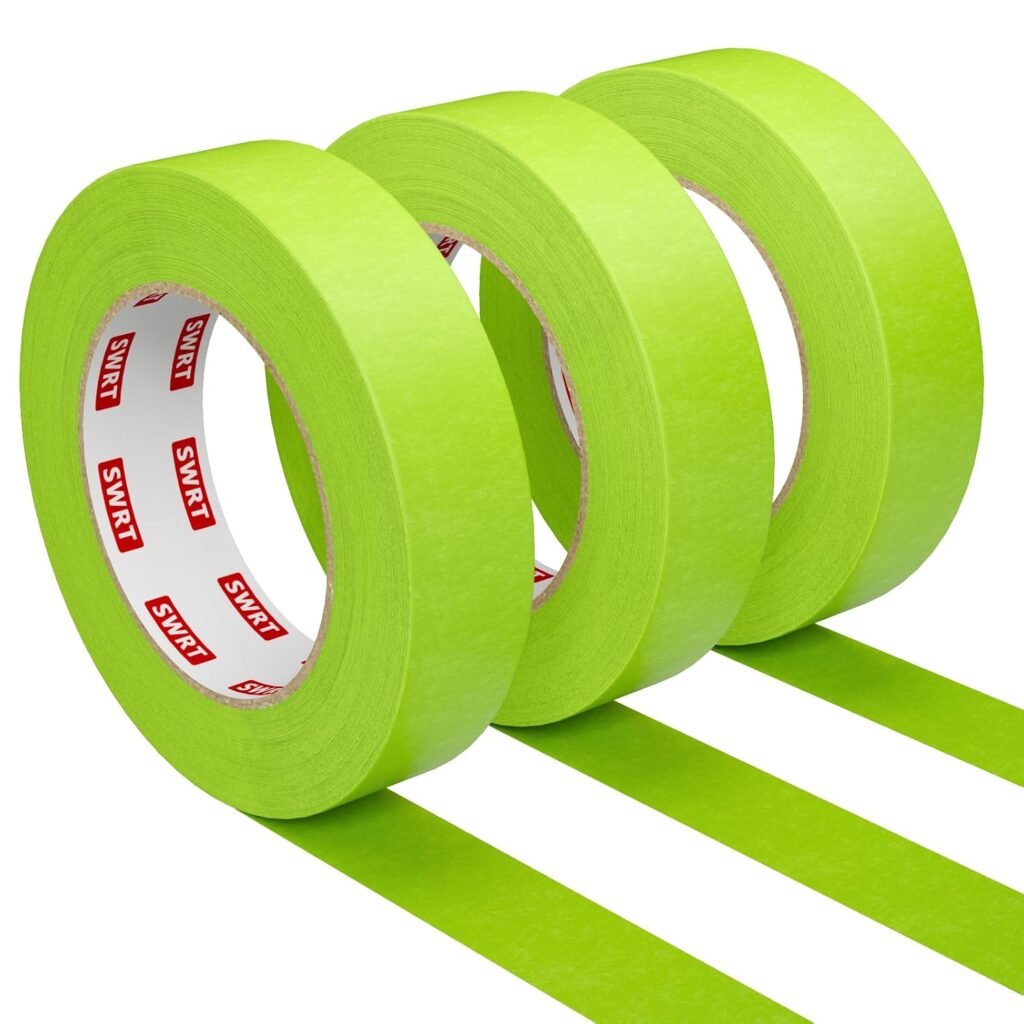
Painter’s tape is a useful temporary layout tool when you want a clear horizontal reference without drawing a long pencil line across a finished wall.
A strip of bright green tape provides an easy-to-see visual guide while shelves are being positioned. It can also help you step back and judge spacing before creating permanent holes.
Painter’s tape should not replace a level, however. Walls, ceilings, floors, and furniture can all create misleading visual reference points, especially in older homes. Use the tape for layout and visibility, then confirm the final position with an actual level.
If you are working on a painted surface, follow the tape manufacturer’s recommendations for that paint and remove the tape carefully. Different wall finishes can react differently to adhesive.
Torpedo Spirit Level
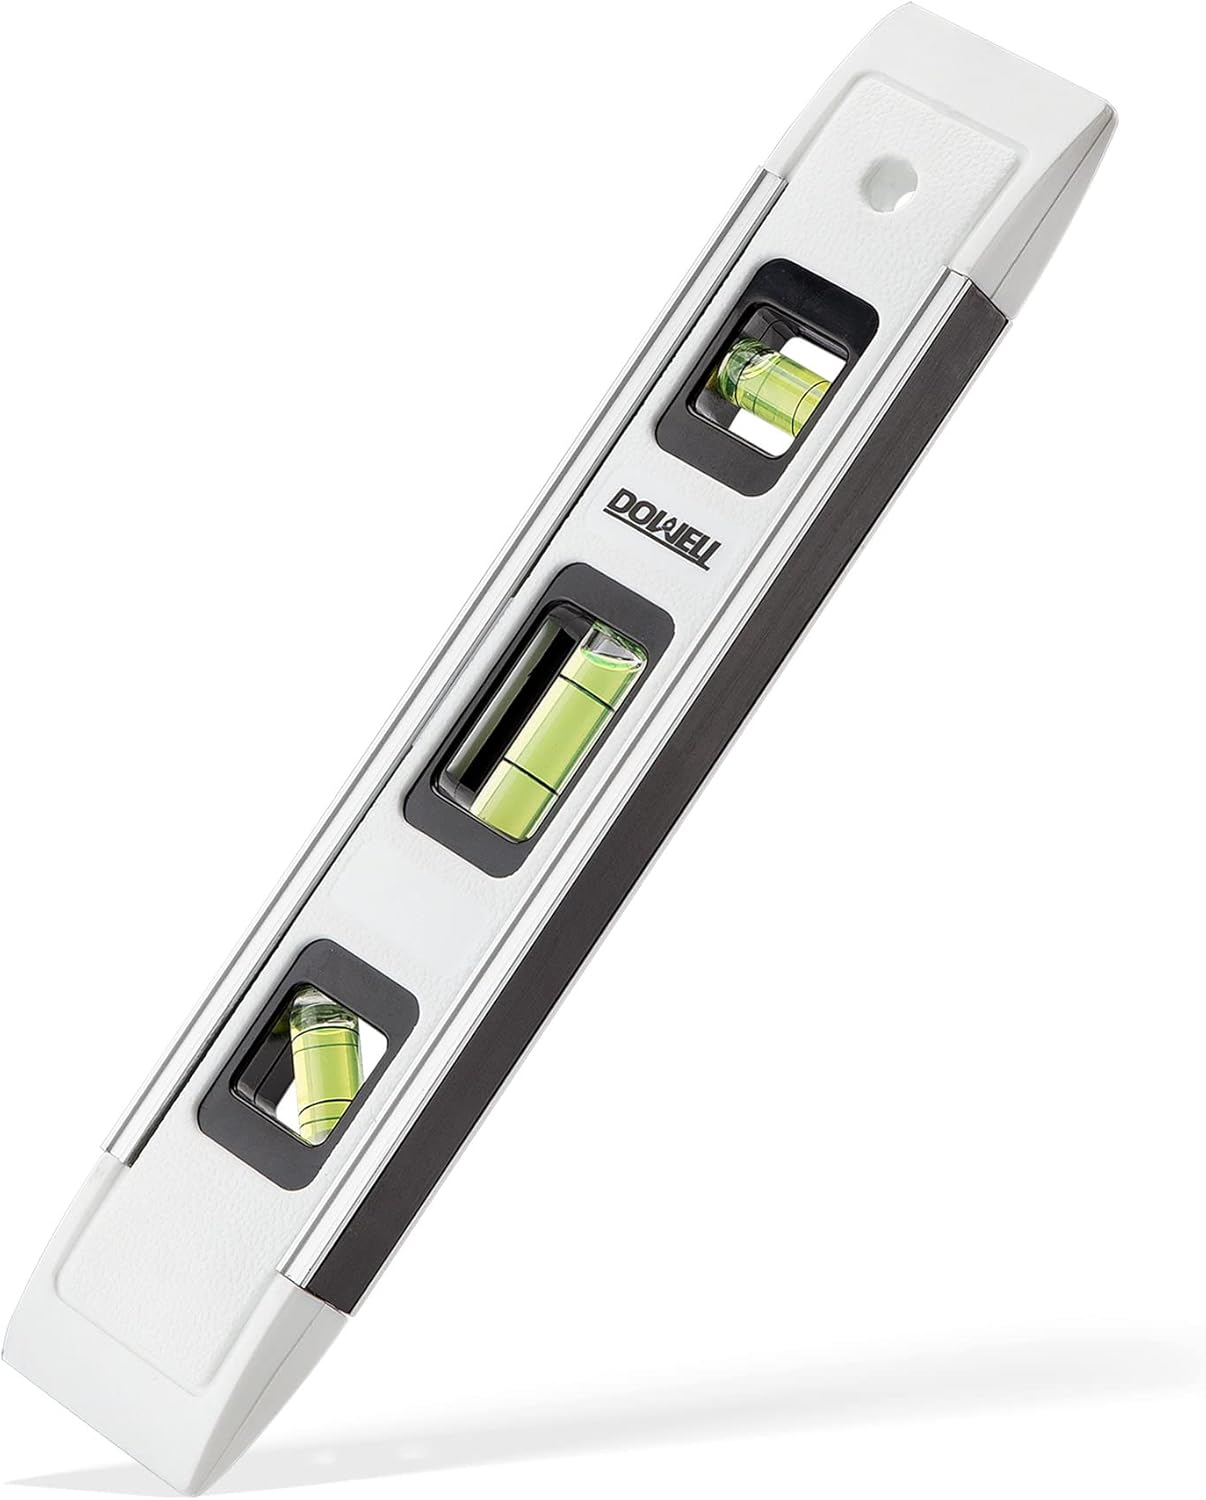
A small torpedo level is particularly handy for compact wall projects because you can rest it directly on the shelf while adjusting the position.
The featured level has a yellow-and-black body, but its brand and exact length cannot be confirmed.
This is a practical tool for checking each shelf independently rather than relying entirely on measurements from the floor or ceiling. That matters because architectural surfaces are not always perfectly level, and a shelf that follows a slightly crooked ceiling line may end up noticeably slanted.
For most homeowners, a compact level is also useful for picture frames, cabinets, small fixtures, appliances, and furniture adjustments.
When mounting multiple shelves, check each shelf after positioning it and again after the screws are tightened. Hardware can shift slightly during fastening, so the first reading should not necessarily be your last.
Plastic Wall Anchors
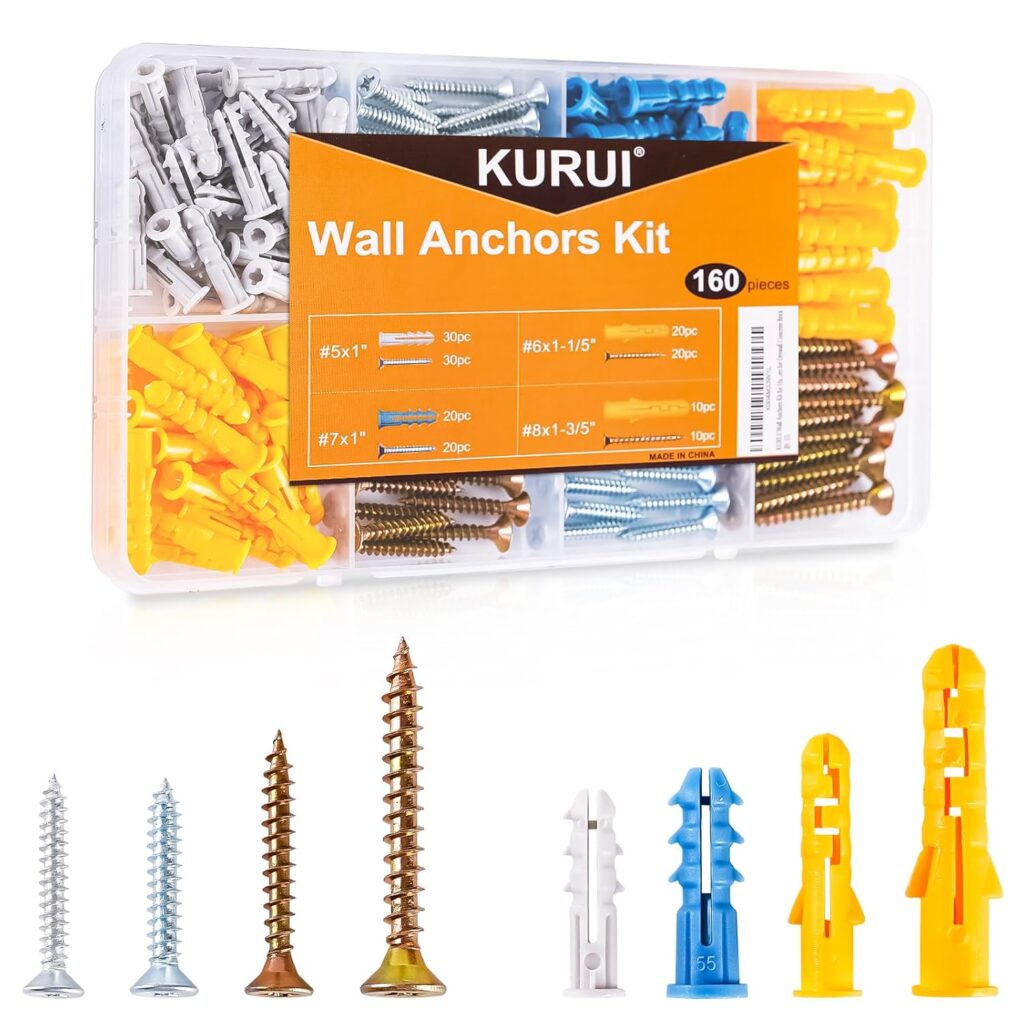
That verification is especially important. Wall anchors are not interchangeable simply because they look similar.
Drywall, plaster, masonry, hollow walls, and other materials can require different fastening methods. Likewise, an anchor suitable for a lightweight decorative item should not automatically be trusted with a shelf carrying books or heavy planters.
Whenever possible, fastening shelf hardware into properly located wall studs can provide a more direct structural attachment. When studs are not available at the required mounting points, use an anchor that is specifically designed for your wall material and application.
Follow the anchor manufacturer’s specified drill-hole size and installation procedure rather than guessing based on the anchor’s appearance.
Claw Hammer

A claw hammer makes a brief but useful appearance during the anchor-installation stage.
Once an appropriate pilot hole has been prepared, certain plastic wall anchors are designed to be gently seated until they sit correctly at the wall surface. The exact procedure depends on the specific anchor, so check its instructions before reaching for the hammer.
For this type of household project, a general-purpose claw hammer is useful for much more than shelving. It can handle basic picture hanging, small repairs, furniture projects, and nail removal.
The important word here is “gently.” Wall anchors should not be aggressively hammered into an incompatible or undersized hole. If excessive force seems necessary, stop and confirm that the hole size and anchor type are correct.
Which Product Should You Buy First?
If you already own basic household tools, start with the corner braces because they define how this particular shelf design works. Once you know the bracket dimensions, you can choose a compatible wood board and plan the mounting locations.
If you are building a beginner DIY toolkit from scratch, the cordless drill/driver is the most versatile long-term purchase. It is useful for this shelf project but can also handle furniture assembly, repairs, hanging projects, and many other jobs around a home or apartment.
A torpedo level is another inexpensive tool worth having because it helps with virtually anything that needs to sit straight on a wall.
Anchors and screws should come later in the buying process, once you have confirmed your wall construction, bracket requirements, and intended shelf load.
Final Thoughts
You do not need complicated DIY floating shelf hardware to add useful wall storage. A wood board, simple metal corner braces, the right wall fasteners, and a few basic tools can create a clean floating-style shelf without an elaborate mounting system.
The most important part of shopping is not finding products that merely look similar. Verify that every bracket, anchor, screw, and drill bit is appropriate for your board, wall material, and intended load.
Once those details are confirmed, this is the kind of approachable project that can add storage and personality to a bedroom, apartment, home office, or other small space without taking up valuable floor space.
For more DIY Tips click here.