11 Fall Candle Holder Craft Supplies for a Cozy Autumn DIY
A handmade candle holder is an easy way to bring warmer colors and softer lighting into your home for fall. Instead of buying another piece of seasonal decor that gets stored away after Thanksgiving, this project uses versatile craft supplies that can also work for future DIY projects.
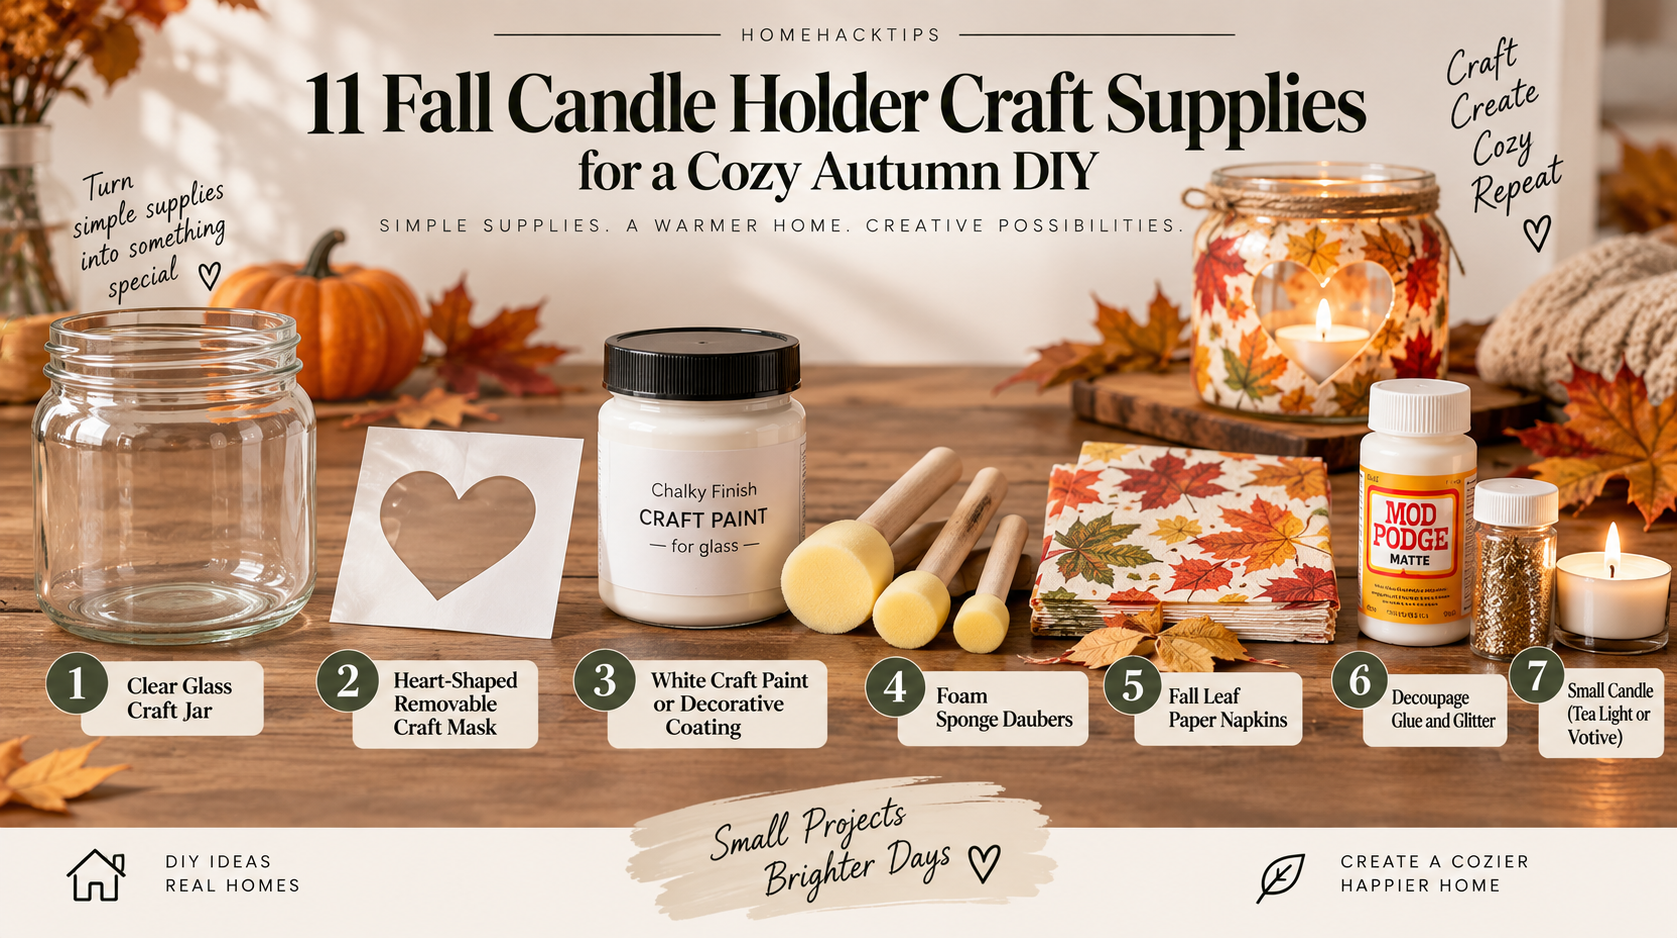
These fall candle holder craft supplies combine a basic glass container with white coating, autumn-patterned paper napkins, decoupage materials, glitter, and a small candle. The result is a decorative jar with colorful leaves and a heart-shaped clear window that allows the light inside to show through.
The exact brands and formulations of the supplies should be verified before purchasing because they are not clearly identifiable. More importantly, check the heat and flame suitability of every component before putting a burning candle inside a decorated container.
Here are the individual supplies used to create the look.
1. Clear Glass Craft Jar
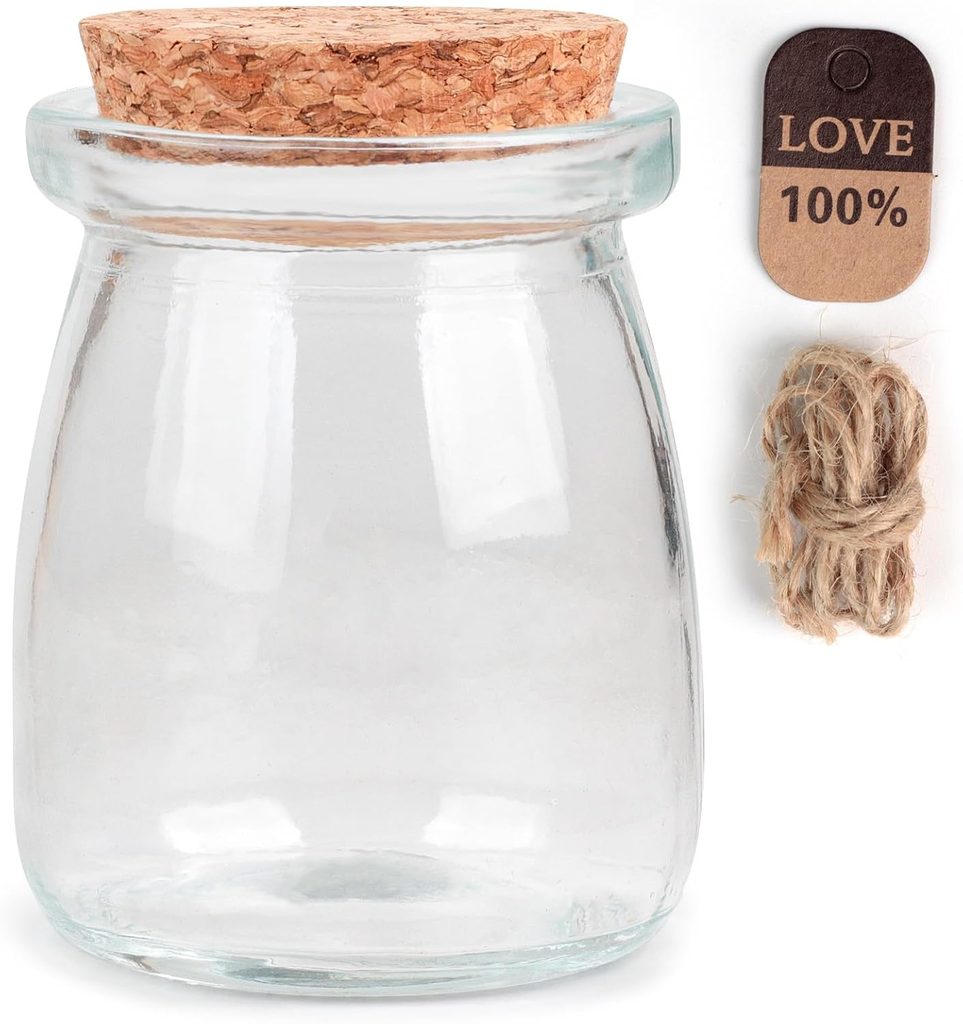
The foundation of the project is a small clear glass container with a relatively wide opening and rounded shoulders.
A transparent jar works particularly well for this type of craft because it allows you to decide exactly how much of the original glass remains visible. Most of the exterior can be decorated while a small section is left clear to create a window for the candlelight.
This type of container is useful for crafters who enjoy seasonal DIY decor because the same basic format can be adapted for fall, winter, spring, birthdays, or holiday decorations.
Before buying, pay close attention to the shape rather than assuming every jar will produce the same finished look. A relatively smooth exterior is easier to paint and decorate than heavily embossed glass.
If you intend to place a real candle inside, verify that the specific container is suitable for the heat involved.
2. Heart-Shaped Removable Craft Mask
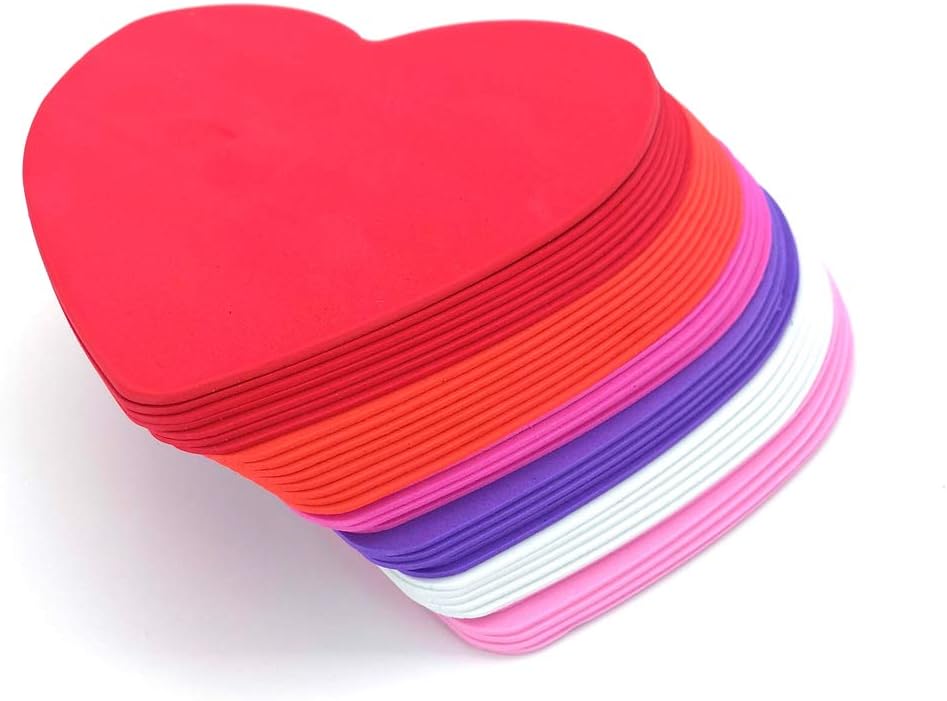
A heart-shaped piece temporarily covers part of the glass while the exterior is being decorated. Once removed, it leaves a transparent heart window.
This is a simple technique with a big visual payoff. Instead of trying to paint precisely around a shape by hand, a removable mask helps establish cleaner boundaries.
The same concept can work with stars, leaves, pumpkins, circles, or other seasonal shapes, making removable masks especially useful for people who enjoy customizing glass jars and lantern-style crafts.
Look for a product that can remain in place while paint or coating is applied but can still be removed without leaving unwanted residue.
The exact material used here cannot be confirmed.
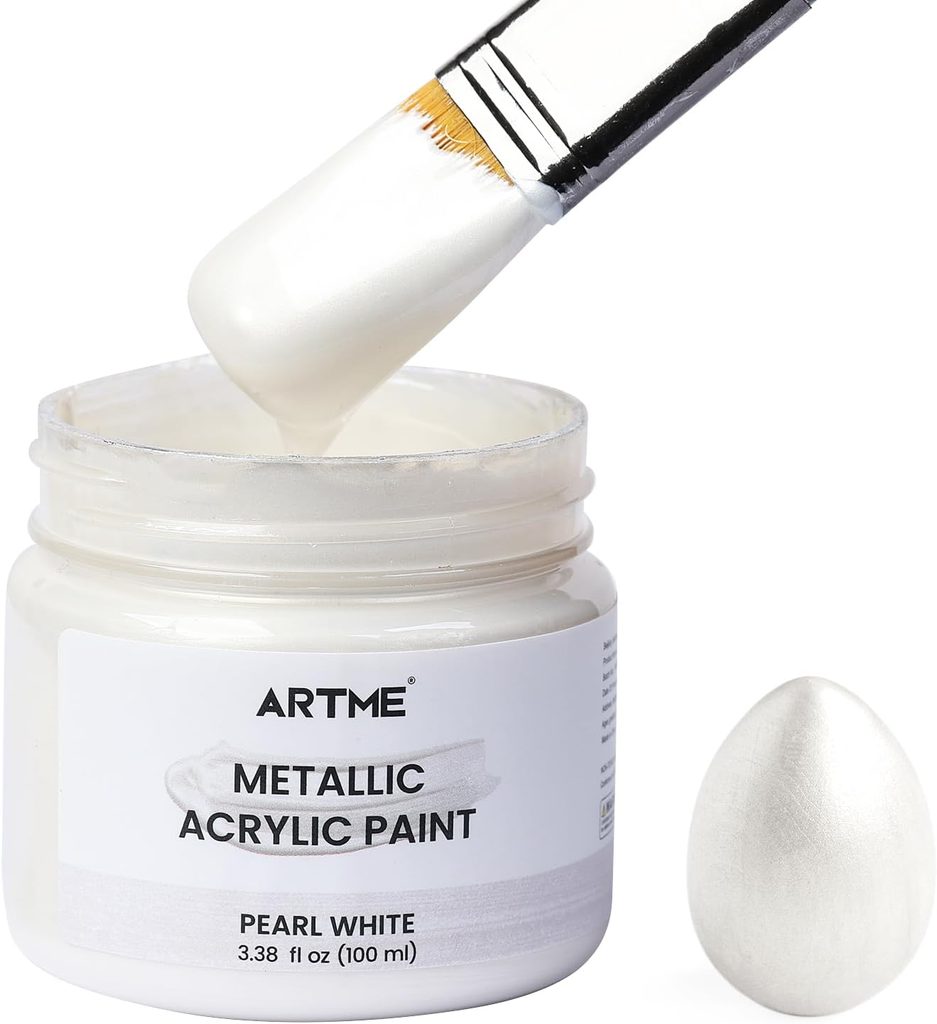
3. White Craft Paint or Decorative Coating
A white coating covers most of the glass and gives the container a frosted, textured appearance.
The neutral white background serves an important design purpose: it makes the orange, red, brown, green, and yellow leaf motifs easier to see. It also helps transform an ordinary clear jar into something that looks more intentionally decorative.
A white craft finish is useful for farmhouse, Scandinavian, winter, cottage, and seasonal crafts as well, so it is one of the more versatile supplies in the project.
Before ordering, determine which type of paint or coating is actually appropriate for glass. Different craft paints are designed for different surfaces, and some require additional preparation or curing.
If a real candle will be used inside the jar, heat suitability also needs to be investigated.
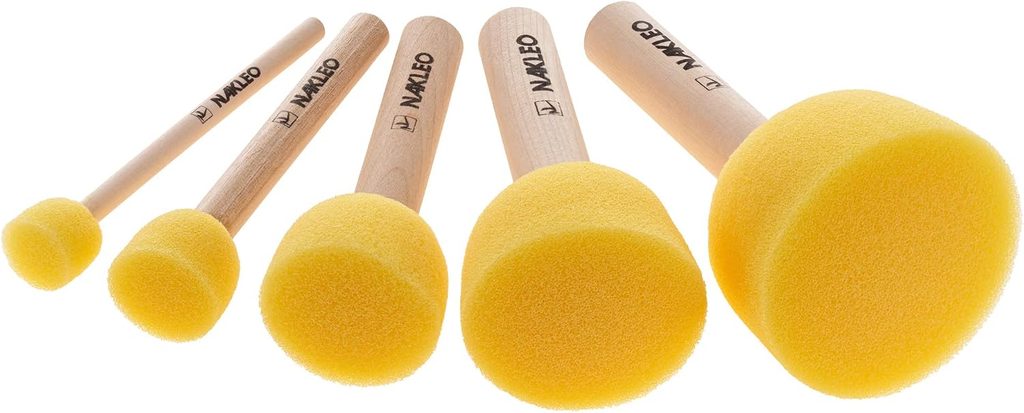
4. Foam Sponge Daubers
A small round foam applicator is used to dab the white coating onto the glass.
Dabbing instead of brushing creates a different texture and can reduce obvious brush lines. It also makes it easier to work around the edges of a masked section.
Sponge daubers are inexpensive tools worth keeping in a basic craft kit because they are useful for stencils, paint, ink, distressing, small furniture details, signs, and seasonal decorations.
They are especially beginner-friendly because the stippling motion does not require the same brush control as painting a perfectly smooth coat.
For this project, a smaller applicator offers more control around the heart-shaped masked area.
5. Fall Leaf Paper Napkins
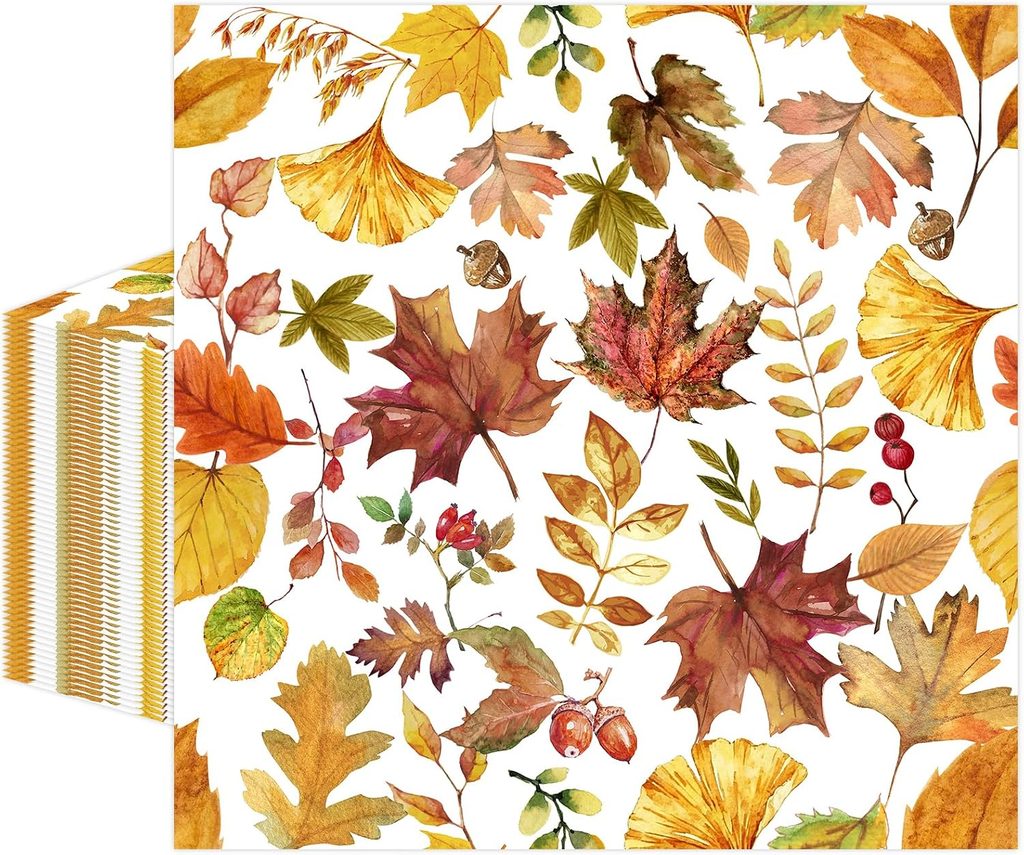
Autumn-patterned napkins provide the colorful leaf illustrations.
Rather than covering the jar with one complete napkin sheet, individual leaves and small botanical elements are separated and placed around the surface. That gives the finished design a more scattered, custom look.
Decorative paper napkins are popular for decoupage because the printed layer is thin and can visually blend into the background once attached.
Fall motifs are particularly easy to work with because individual leaves can be arranged organically. There is no need to make every section symmetrical.
Choose a print with several different leaf shapes and colors if you want a similarly varied design.
6. Craft Scissors
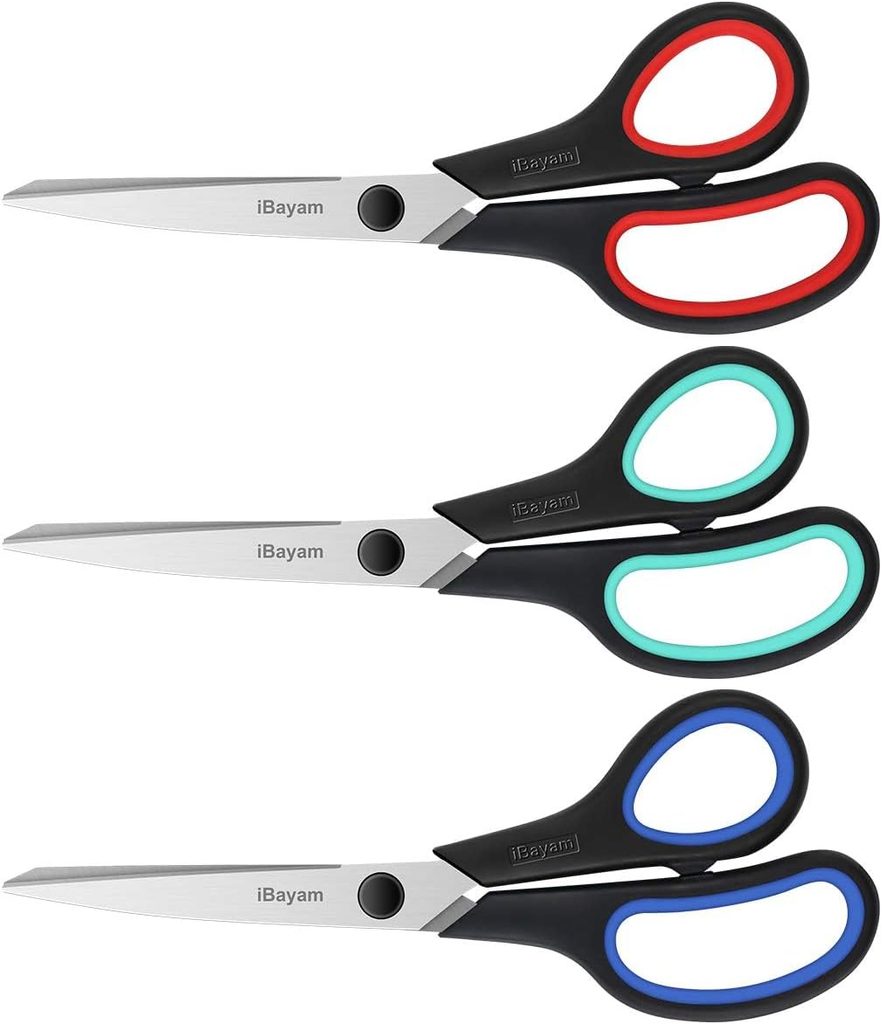
A small pair of scissors is used to cut individual leaves and botanical motifs from the printed napkin.
Standard household scissors can work for larger shapes, but a smaller craft pair generally gives you more control when trimming around detailed designs.
This is especially helpful with thin napkin paper because oversized cuts leave more visible background material around each motif.
Sharp scissors also reduce the temptation to pull or tear fragile paper when working around narrow stems and pointed leaves.
For anyone who regularly makes paper crafts, labels, scrapbook decorations, or decoupage projects, a comfortable pair of detail scissors is one of the most reusable tools on this list.
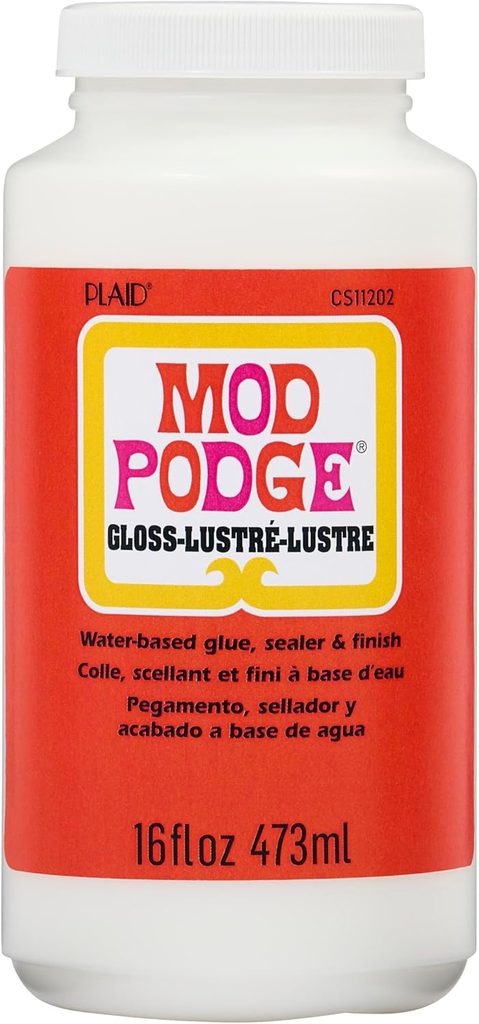
7. Decoupage Craft Medium or Adhesive
A white liquid craft product is used while attaching the cut leaf motifs to the jar.
The exact formula and brand cannot be verified, so it should be described generically as a decoupage-style craft medium or adhesive until the product is identified.
For this style of project, the adhesive needs to work with lightweight paper and the underlying painted or coated surface. It also needs to allow delicate napkin pieces to be positioned without excessive tearing.
Decoupage products can often function as both adhesive and top coating, but that should never be assumed for an unidentified product.
Check the manufacturer’s directions for compatible surfaces, drying time, finish, and any limitations.
8. Flat Craft Brush
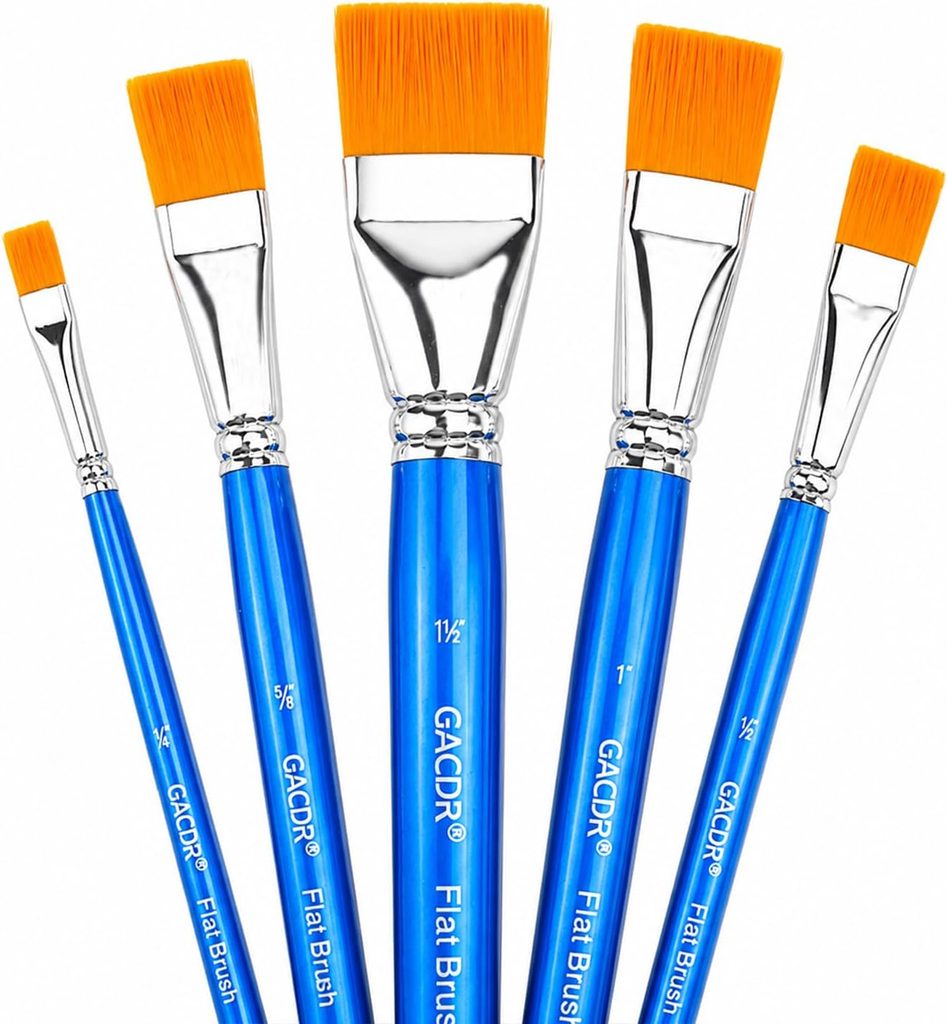
A flat brush helps apply the liquid craft medium over and around the paper designs.
A wider, soft-bristled craft brush can make this job easier because thin napkin paper becomes delicate once wet. Gentle strokes help smooth the material without dragging it out of position.
The brush can also be used for sealing edges and applying an even top layer where appropriate.
This is another supply with uses well beyond the candle holder. Flat brushes are practical for decoupage, small furniture projects, unfinished wood crafts, painted signs, and many other home DIY jobs.
Consider keeping these brushes separate from fine-art brushes if they will regularly be used with adhesives and sealers.
9. Fine Decorative Craft Glitter
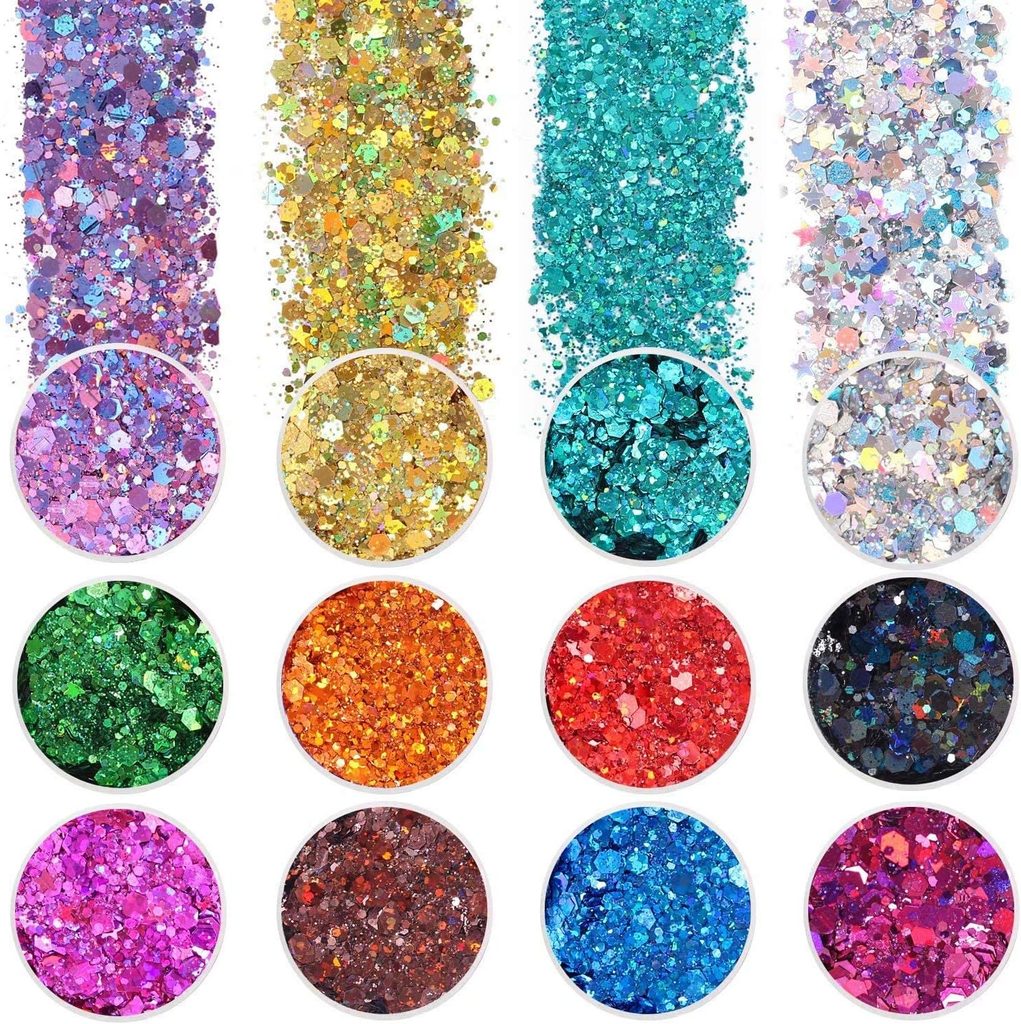
Fine glitter is added near the transparent heart opening to create a sparkly border.
Because glitter reflects light, it works particularly well on a candle-inspired project. Even when the candle is not burning, the glitter creates additional visual detail around the clear window.
Fine glitter generally creates a more delicate finish than large chunky particles, which suits the relatively small scale of the jar.
Glitter can be messy, so protect the work surface and apply only as much as the wet adhesive or coating can hold.
10. Tealight Candles
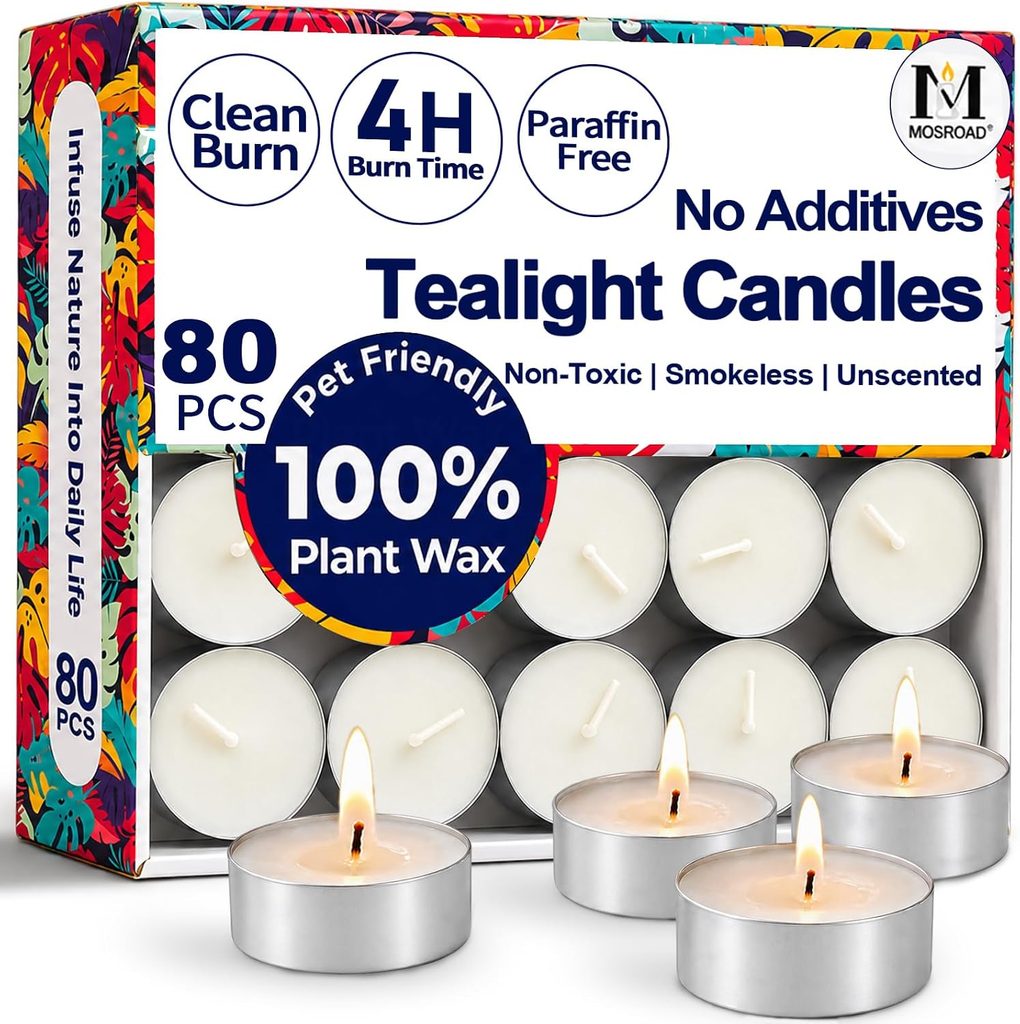
A small tealight provides the glow visible through the heart-shaped opening.
Tealights are popular for decorative candle holders because their compact size works with many smaller vessels. They can also be purchased in multipacks for seasonal centerpieces and entertaining.
However, the candle is the part of this project that requires the most caution.
Do not assume that an ordinary craft jar, decorative coating, paper napkin, glue, or glitter is suitable for exposure to candle heat. Check the specifications for the container and every relevant material before using an open flame.
Never leave a burning candle unattended.
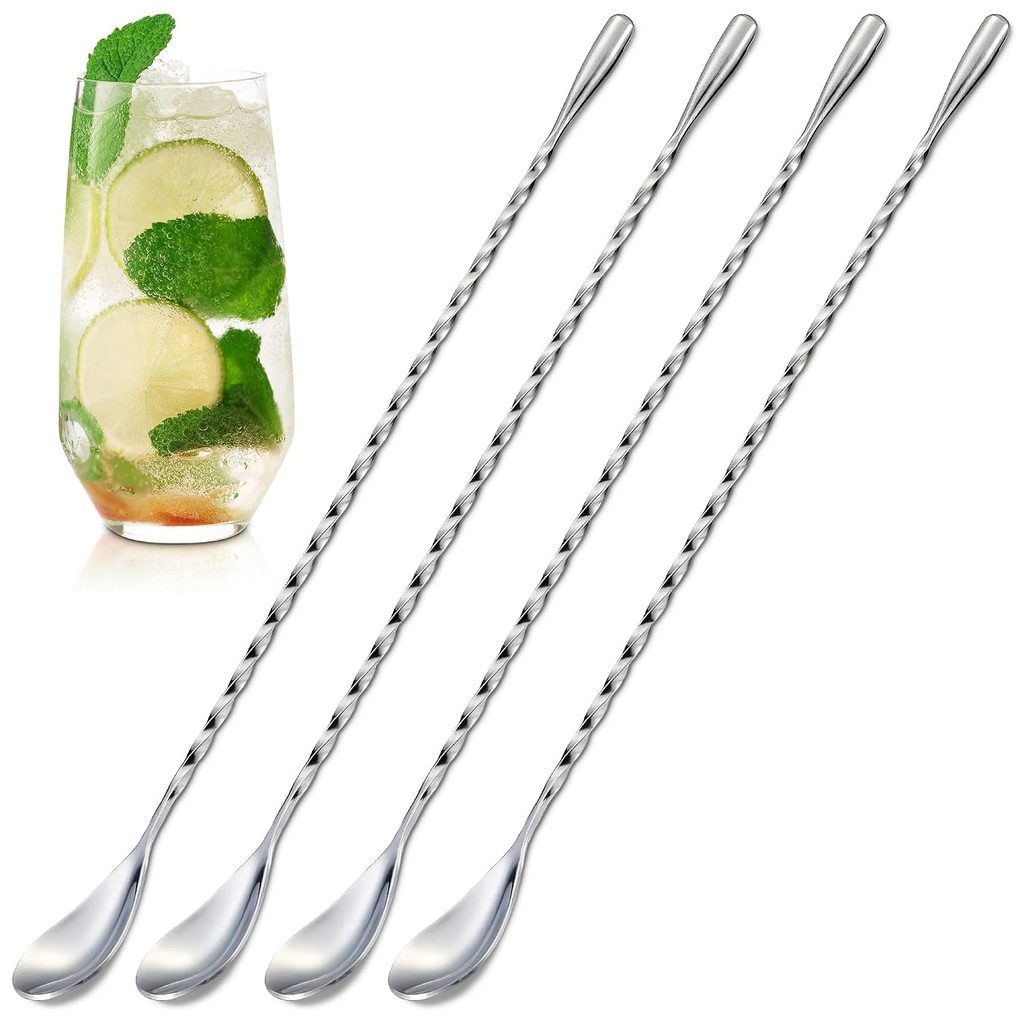
11. Long-Handled Metal Spoon
A long-handled metal spoon appears during the final assembly stage.
Although it is not essential to the decorative design itself, a long handle can be useful when working inside a container where your fingers do not comfortably reach the bottom.
This is the least project-specific item on the list, and most readers may already have a suitable spoon at home.
If adding it as an affiliate recommendation, position it as an optional convenience rather than a required craft supply.
The substance handled with the spoon cannot be confidently identified and should not be described without additional verification.
Which Product Should You Buy First?
If you are starting this craft from scratch, begin with the clear glass craft jar.
The jar determines the overall size, shape, opening, and amount of decorating space available. Once you know which container you are working with, it becomes much easier to choose the appropriate mask size, leaf patterns, applicators, and other materials.
For shoppers who already own suitable glass containers, the fall leaf paper napkins are probably the next most useful purchase. They provide most of the seasonal personality while remaining inexpensive and easy to use for other autumn crafts.
Foam daubers, craft brushes, scissors, and decoupage supplies are the better long-term buys if you plan to make several DIY projects rather than just one candle holder.
Final Thoughts
These fall candle holder craft supplies show how a simple glass container can become a personalized piece of autumn decor with a few basic crafting techniques.
The most useful items are also highly reusable: glass jars, decorative napkins, sponge daubers, brushes, scissors, adhesive, and glitter can all work in future seasonal projects.
The one area that deserves extra attention is candle safety. Because the finished container combines glass, paint or coating, paper, adhesive, and glitter around an open flame, verify the heat suitability of the exact products before lighting a real candle inside.
Once those details are confirmed, the project can become an attractive addition to a fall mantel, shelf, centerpiece, or seasonal tabletop display.
Read more DIY Tips here.