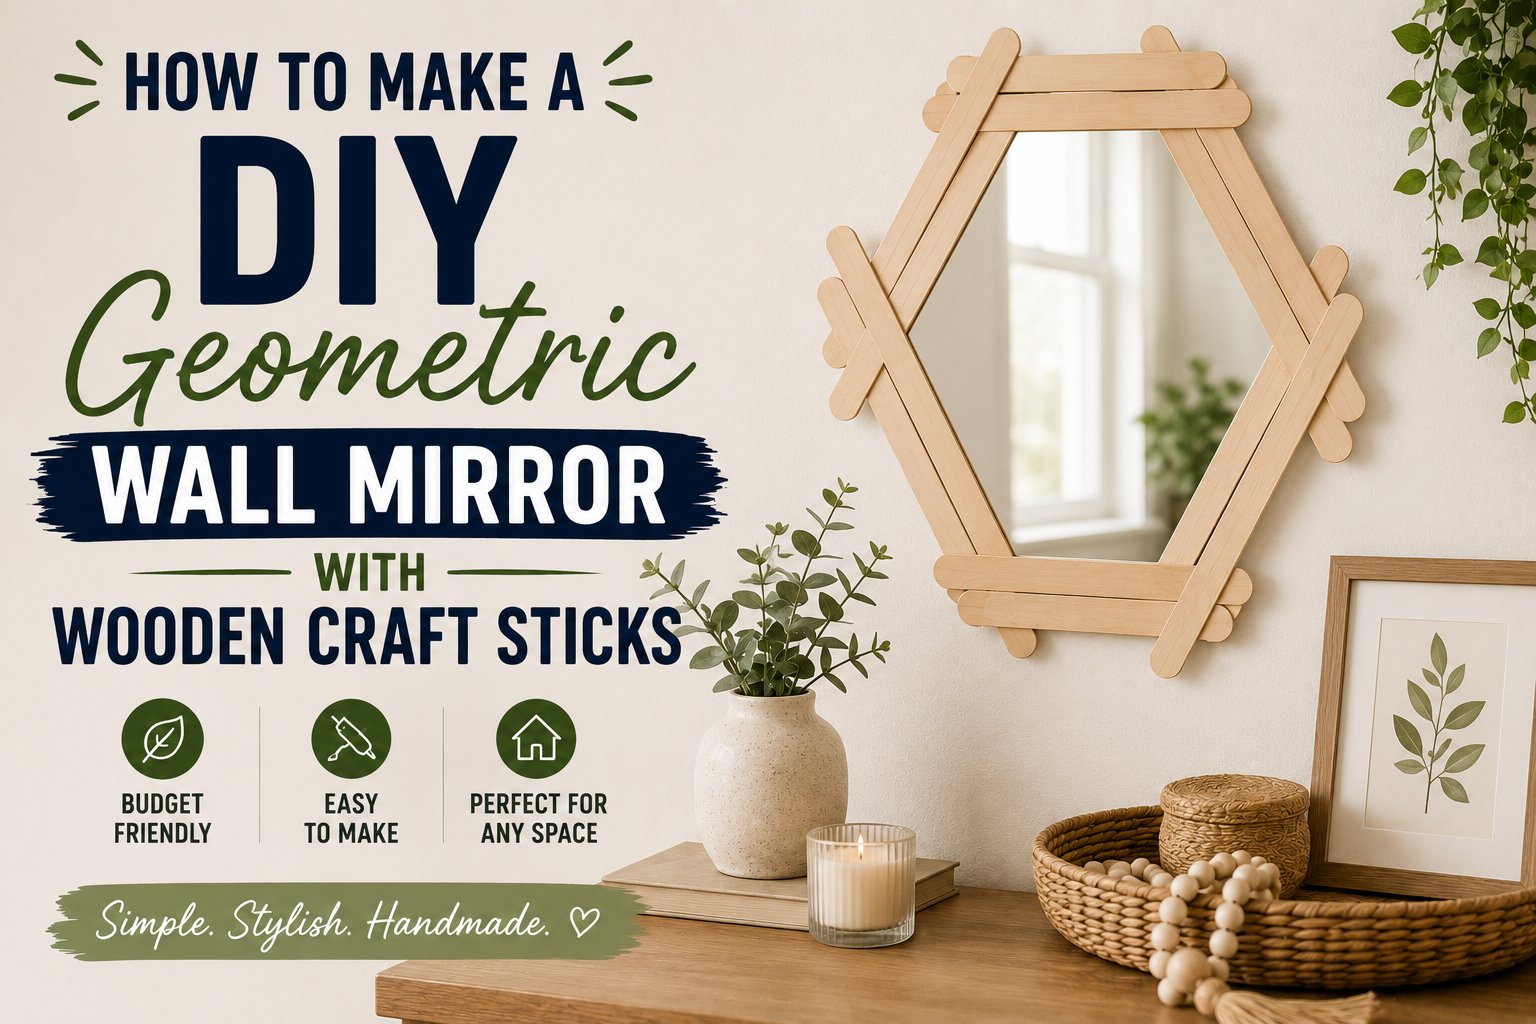
How to Make a DIY Geometric Wall Mirror With Wooden Craft Sticks
A decorative mirror can make a blank wall feel more complete, but oversized statement pieces are not always affordable. A DIY geometric wall mirror offers a budget-conscious alternative using simple craft supplies and an easy repeating pattern.
The design begins with wooden craft sticks arranged into hexagons. Several hexagons are connected to form a larger openwork frame, then painted black for a modern metal-like appearance. A small round mirror anchors the center, while silver decorative material adds texture and contrast around its edge.
This is a practical project for renters, homeowners, beginner crafters, and anyone looking for inexpensive wall decor that can be customized to fit a room. Before buying supplies, pay attention to scale, adhesive compatibility, mirror weight, and the way the finished piece will be secured to the wall.
Jumbo Wooden Craft Sticks for the Geometric Frame

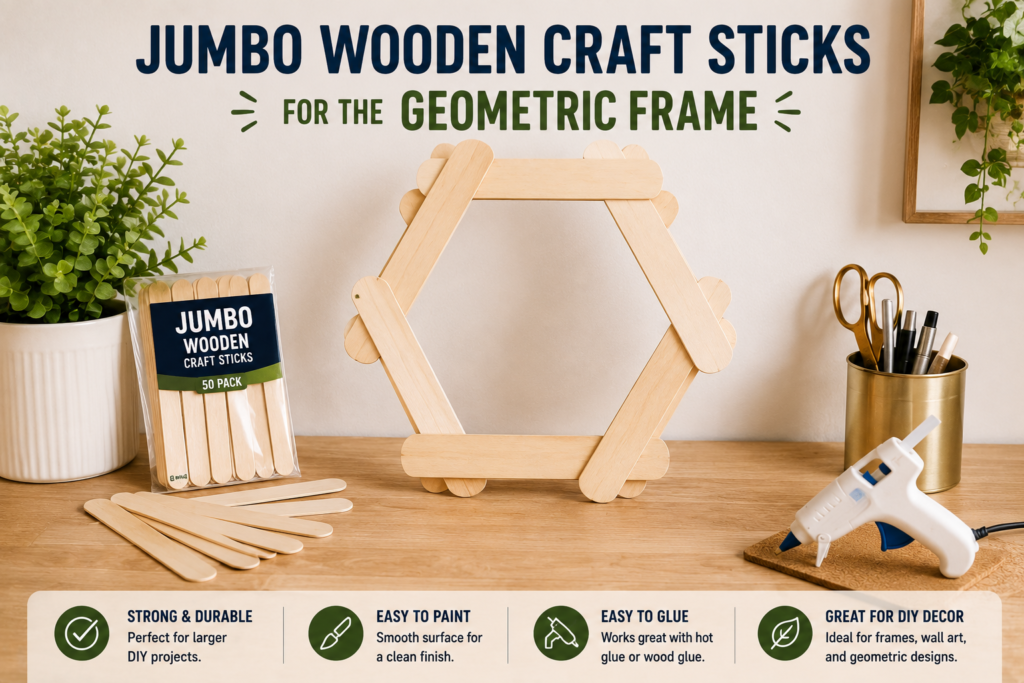
Jumbo wooden craft sticks form the main structure of this wall mirror. Their straight edges make it easier to create repeating geometric shapes without cutting complicated angles.
Six sticks can be arranged into a basic hexagon. Multiple hexagons can then be connected around a central opening to create a larger honeycomb or sunburst-style pattern. A paper template is useful because it helps keep each shape consistent while the glue sets.
Jumbo craft sticks are generally a better fit for this type of project than narrow standard popsicle sticks. The wider surface provides more room for glue at each joint and gives the finished frame a stronger visual presence.
This supply is best for:
- Beginner DIY projects
- Lightweight wall decor
- Geometric and honeycomb designs
- Crafts that need repeatable straight pieces
- Projects intended to imitate a wood or metal frame
Before buying, verify the length and width of the sticks. A small difference in size can change the overall dimensions of the mirror significantly. You should also estimate how many hexagons you plan to build and purchase enough sticks to allow for warped, cracked, or uneven pieces.
Lay the sticks on a flat surface before gluing. Natural wood pieces are not always perfectly straight, and sorting them first can help produce cleaner joints.
A Hot Glue Gun for Fast Assembly
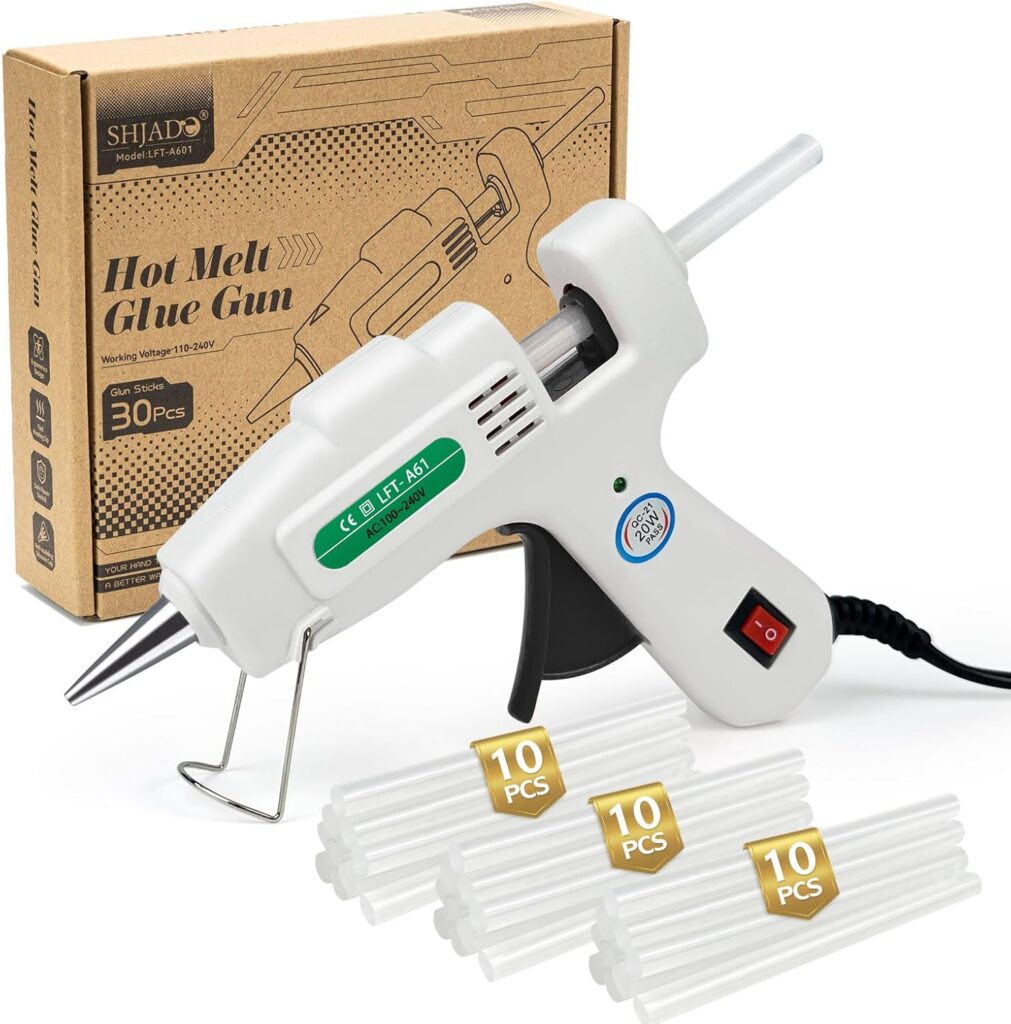
A hot glue gun makes it possible to connect the craft-stick joints quickly. Unlike slower-drying liquid wood glue, hot glue holds pieces in place within a short period, which is helpful when assembling several repeating shapes.
For this project, the glue is applied where the ends of two sticks meet. The hexagons are built individually and then connected into a larger frame. Hot glue may also be used when attaching the cardboard backing or mirror, although the correct adhesive depends on the mirror’s material and weight.
A hot glue gun works best for:
- Fast craft assembly
- Lightweight wooden components
- Temporary positioning before reinforcement
- Small decorative projects
- Beginners who want to avoid clamps
Choose a glue gun that feels comfortable in your hand and has a stable stand. A precision nozzle may make it easier to place glue on narrow joints without creating bulky beads.
Hot glue is useful, but it should not automatically be treated as a permanent structural adhesive. Temperature changes and smooth surfaces can weaken certain bonds. For a heavier mirror or a piece that will hang overhead, verify whether a stronger adhesive or mechanical attachment is needed.
Always place the glue gun on a heat-resistant surface. Keep fingers away from fresh glue, and allow every joint to cool fully before lifting or painting the frame.
Clear Hot Glue Sticks

A glue gun is only useful when paired with compatible glue sticks. Clear glue sticks are a practical choice because any small amount that remains visible is less noticeable before the frame is painted.
The most important consideration is compatibility. Glue sticks come in different diameters and may be designed for low-, high-, or dual-temperature glue guns. Check the tool manufacturer’s instructions rather than assuming that every stick will fit every gun.
Longer glue sticks may be convenient for this project because the frame includes many individual joints. Having several extras nearby also avoids interrupting assembly halfway through a hexagon.
Clear hot glue sticks are useful for:
- Joining craft-stick corners
- Connecting individual geometric sections
- Attaching lightweight backing materials
- General household craft projects
Apply only enough glue to cover the connection point. Large blobs can make the frame look uneven and may remain visible after painting. Excess glue can sometimes be trimmed after it cools, but cleaner application usually creates the best result.
Black Acrylic Craft Paint
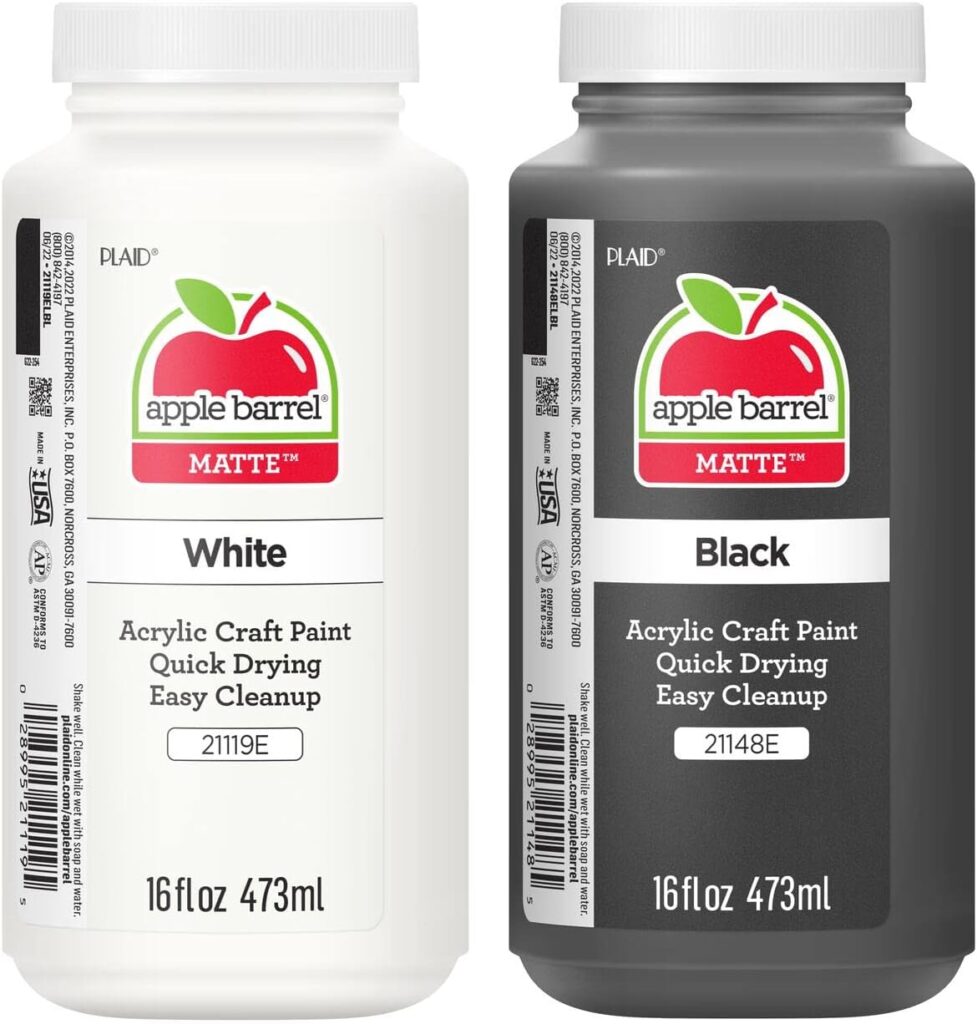
Black acrylic craft paint transforms the natural wooden frame into a more polished decorative piece. The dark finish creates stronger contrast against a light wall and helps the craft-stick construction resemble a metal geometric frame from a distance.
Craft Smart black acrylic paint appears to be used for this project, but the exact finish and bottle size should be confirmed before publication. A comparable water-based acrylic craft paint may also work.
Acrylic craft paint is a practical option because it is commonly used on porous materials such as unfinished wood and cardboard. It is also available in small bottles, which may be enough for a lightweight decor project.
Black paint works especially well in:
- Modern rooms
- Industrial-inspired interiors
- Neutral color schemes
- Black-and-white spaces
- Entryways and gallery walls
Before painting, remove loose glue strings and check every joint. Painting over excess adhesive can make bumps more visible rather than hiding them.
Several thin coats usually create a neater finish than one heavy coat. Be sure to paint the visible edges and interior sides of the hexagons, not just the front surfaces. Allow the paint to dry according to the product label before adding the mirror.
The exact finish—matte, satin, or gloss—is. A matte finish may create a softer modern look, while a gloss finish may emphasize uneven glue or wood texture.
Craft Paintbrush Set

A small craft paintbrush is likely used to apply the black acrylic paint. Although it is not the most visually dramatic product in the project, the right brush can make it easier to cover narrow edges and corners.
A medium flat brush is practical for the broad front surfaces of the sticks, while a smaller brush can reach tight joints. A basic multipack may be more useful than purchasing one specialty brush because it provides options for both broad coverage and detail work.
This type of brush set is best for:
- Wooden craft projects
- Acrylic paint
- Small furniture touch-ups
- Decorative signs
- Detailed edges and corners
Check that the brush is intended for water-based acrylic paint. Avoid loading it with too much paint near glued joints, where liquid can collect and dry unevenly.
The exact brush shape and size are not clearly identifiable and require verification.
Corrugated Cardboard for the Center Backing
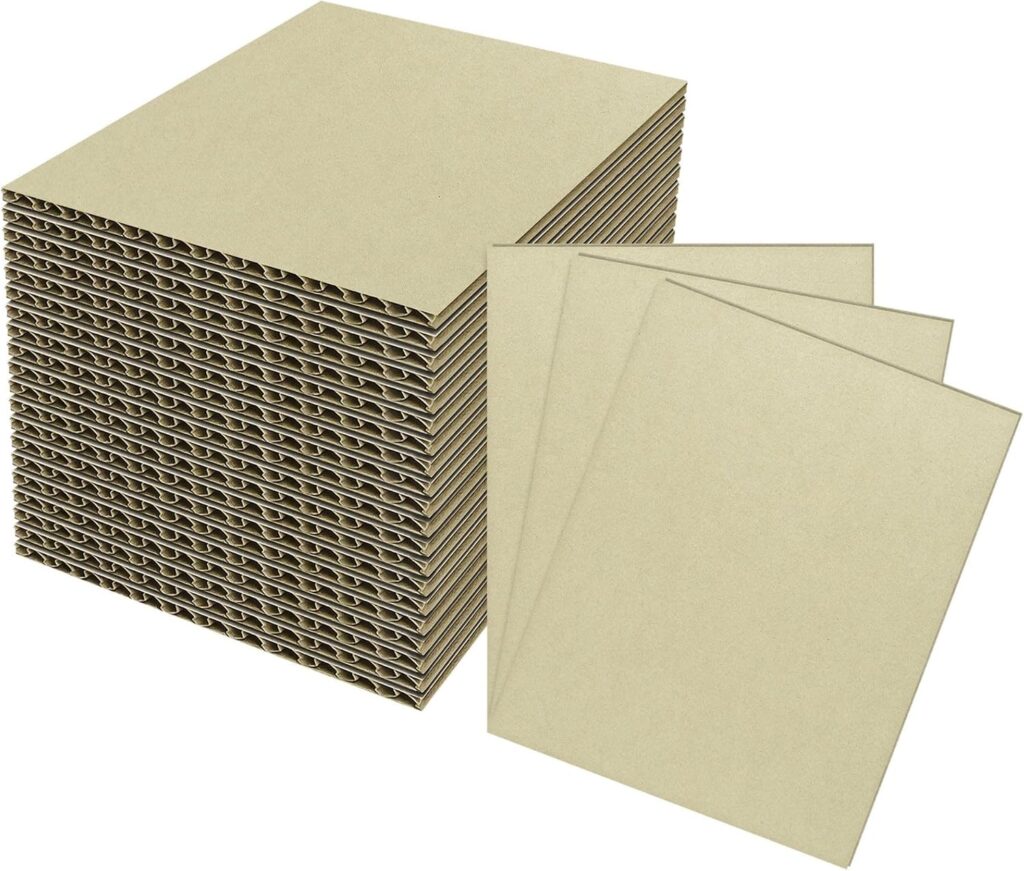
A round piece of corrugated cardboard creates a backing plate behind the mirror. It provides a surface for positioning the central mirror and helps separate the mirror assembly from the open geometric frame.
Cardboard is attractive for this project because it is inexpensive, lightweight, and easy to cut. It can also be painted to blend with the black frame.
The cardboard circle should be large enough to support the mirror and the surrounding decorative border without covering too much of the geometric design. Tracing a bowl, plate, lid, or circular template can help produce a smoother shape.
Cardboard works well for:
- Lightweight decorative backing
- Prototyping the mirror size
- Creating a paintable center panel
- Keeping the overall project affordable
However, cardboard has limits. It can bend in humid conditions, absorb too much wet adhesive, and lose strength if the mirror is heavy. The cardboard thickness and mirror weight are both.
For a more durable version, a thin wood craft round or rigid foam board may be considered, but only the cardboard version should be presented as the material used in this project.
Heavy-Duty Craft Scissors

Scissors are used to cut the cardboard into a circular backing. A sharp pair can create a cleaner edge and reduce crushing along the corrugated layers.
This tool is most suitable for:
- Cardboard
- Paper templates
- Lightweight foam sheets
- General household crafts
Cut slowly and rotate the cardboard rather than forcing the scissors through a tight curve. A rough edge may be covered by paint and decorative filler, but an accurate circle makes it easier to center the mirror.
The visible scissors appear to have cushioned handles, although the brand and exact model cannot be confirmed.
For very thick cardboard, a craft knife and cutting mat may provide a cleaner result, but they require additional care and should only be used by someone comfortable with precision cutting tools.
A Small Round Craft Mirror
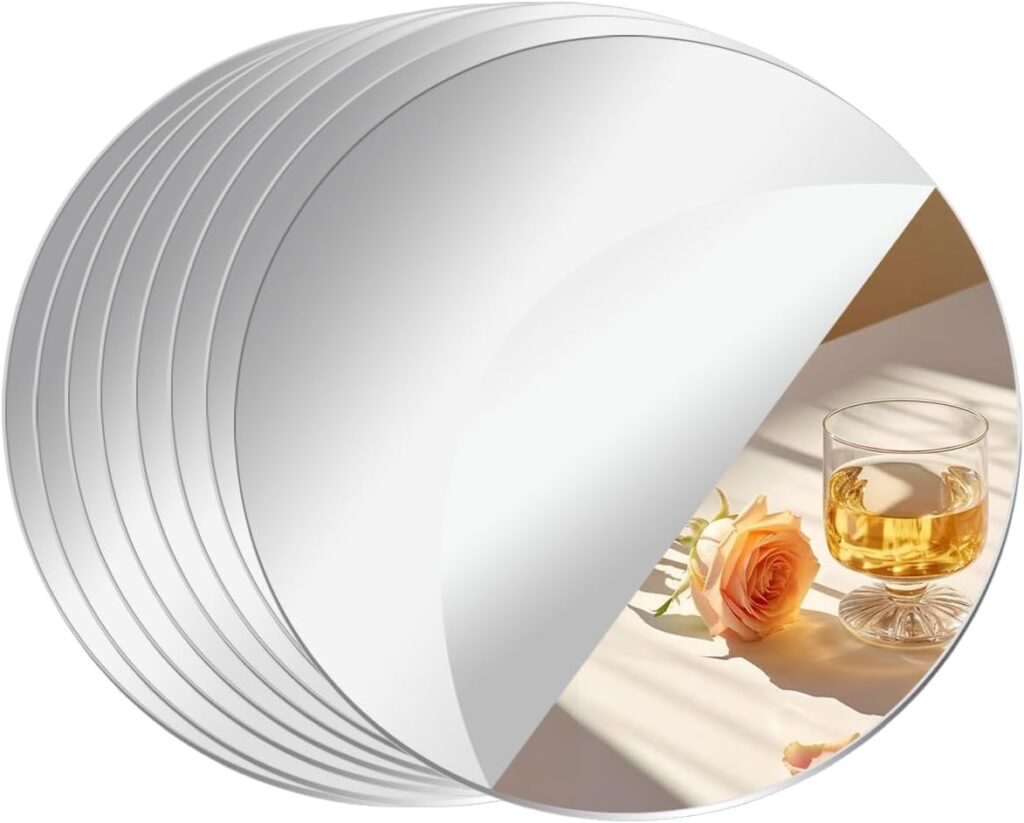
The round mirror serves as the focal point of the finished wall decoration. Its curved shape softens the angular hexagon pattern and creates a clear visual center.
A black-framed round mirror appears to be used, though the exact diameter, material, weight, and mounting construction are unknown.
A small mirror is best for this project because it keeps the finished piece relatively lightweight. It also leaves enough open space for the surrounding geometric pattern to remain visible.
This style works well in:
- Entryways
- Powder rooms
- Bedrooms
- Small gallery walls
- Hallways
- Above a console or narrow shelf
Before buying, compare the mirror diameter with the central opening in your planned frame. Building the frame first and measuring the available space may be easier than designing around an estimated product size.
Check whether the mirror is glass or acrylic. Acrylic mirrors are lighter and less prone to shattering, but they may scratch more easily or produce slight visual distortion. Glass mirrors generally provide a clearer reflection but require more secure attachment.
The finished piece should not rely on the decorative frame alone to support a heavy mirror. Verify the bond between the mirror, backing, and wall hardware before hanging it.
Mod Podge or a Similar Craft Adhesive
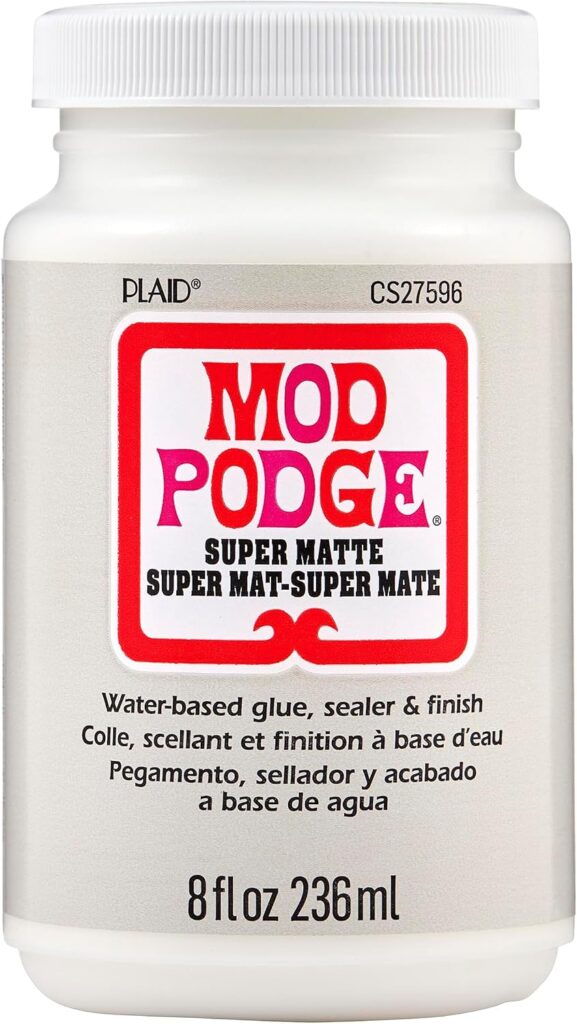
A bottled adhesive or sealer is spread around the outer edge of the mirror before the silver decorative material is added. The bottle appears likely to be a Mod Podge product, but the exact formula is not clear enough to confirm.
Different Mod Podge formulas are designed for different surfaces and finishes. The specific product must therefore be verified before publishing an exact recommendation.
This type of adhesive may be useful for:
- Holding lightweight glitter or decorative chips
- Sealing porous cardboard
- Creating a textured border
- General decoupage crafts
Apply a controlled layer rather than saturating the cardboard. Too much liquid can cause the backing to curl or soften. Let the adhesive dry fully according to its label before lifting or hanging the project.
Silver Decorative Crushed-Glass-Style Filler

A silver textured material creates a sparkling ring around the central mirror. This detail adds dimension and helps disguise the transition between the mirror frame and cardboard backing.
The material may be crushed decorative glass, mirrored chips, glitter, decorative sand, or vase filler. Its exact composition is.
This embellishment is best for:
- Glam-inspired decor
- Mirrored crafts
- Holiday decorations
- Textured picture frames
- Accent pieces that need reflective detail
The most important buying consideration is safety. Some crushed-glass products can have sharp edges and should be handled with gloves. They may not be appropriate in homes where loose pieces could be reached by children or pets.
A fine glitter or rounded acrylic filler may offer a less sharp alternative, but the exact material used for the featured project must be confirmed before making a direct substitution claim.
Work over a tray or sheet of paper so excess material can be collected. Press the pieces gently into the adhesive and allow everything to cure before turning the frame upright.
Lightweight Picture-Hanging Hardware
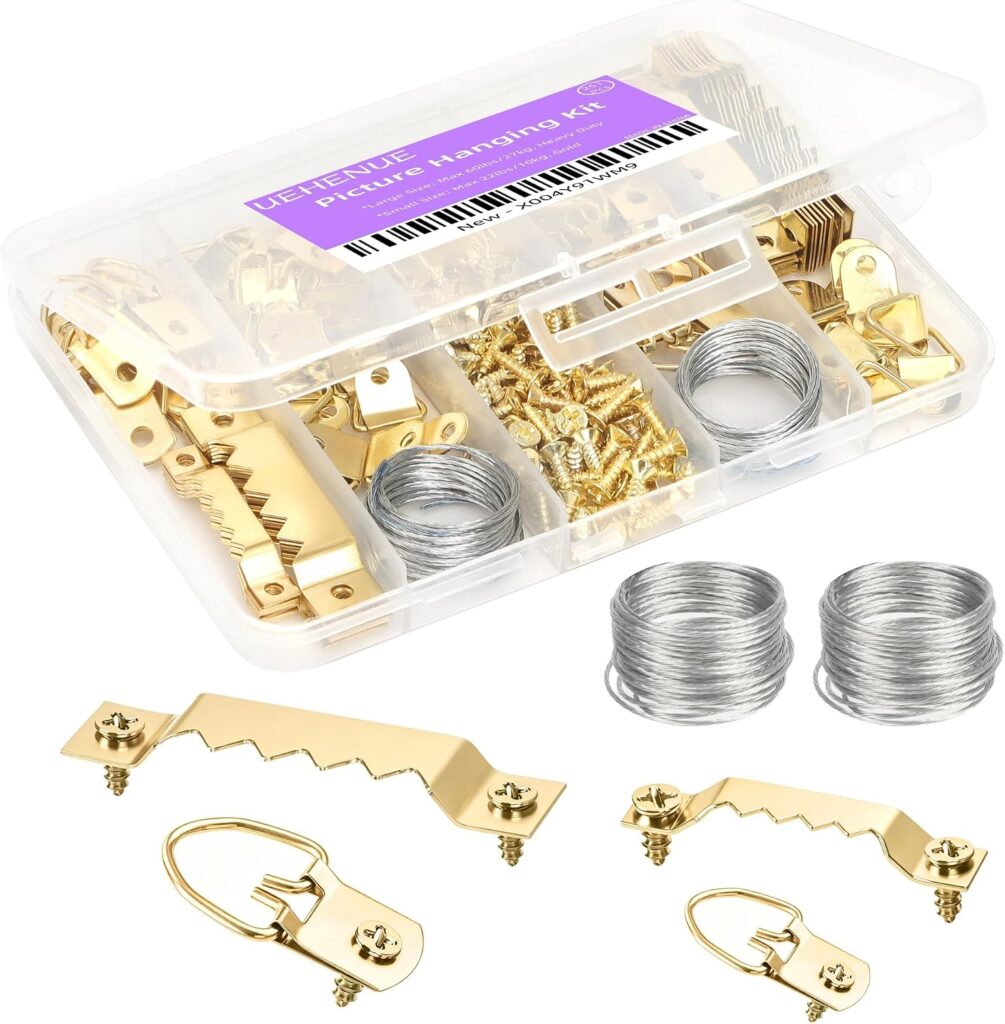
The finished mirror is displayed on a wall, but the mounting method is not shown. This is one of the most important details to verify before publishing instructions.
The correct hardware depends on:
- Total finished weight
- Wall material
- Whether a stud is available
- The strength of the cardboard backing
- Whether the frame includes a secure hanging point
Adhesive strips should not be recommended without checking the product’s weight rating and surface requirements. A hanging loop should not be attached only to a weak cardboard layer unless the structure has been reinforced.
For drywall, plaster, tile, brick, and wood paneling, mounting requirements can vary significantly. Follow the hardware manufacturer’s instructions and use a method rated above the finished mirror’s measured weight.
Do not hang an unverified DIY mirror above a crib, bed, changing area, or frequently occupied chair.
Which Product Should You Buy First?
Start with the jumbo wooden craft sticks and the round mirror.
These two products determine the scale of the entire project. The craft-stick dimensions affect the size of every hexagon, while the mirror diameter determines how large the central opening and backing circle need to be.
Once those dimensions work together, choose compatible glue sticks, paint, cardboard, and decorative filler. This order reduces the chance of building a frame that is too small or too large for the mirror.
For long-term usefulness beyond this single project, the hot glue gun is probably the most versatile tool. It can be reused for seasonal decorations, wreaths, lightweight repairs, school projects, and other home crafts.
Final Thoughts
A DIY geometric wall mirror can turn basic craft materials into a bold decorative accent without requiring advanced woodworking skills. The repeating hexagon design gives simple wooden sticks a more architectural appearance, while black paint and a silver mirror border create a polished finish.
The project is most successful when the frame is built on a flat template, the mirror size is verified early, and each adhesive is chosen for the surfaces it needs to bond. Just as importantly, the completed piece should be weighed and mounted with appropriate hardware before it is displayed.
With careful planning, this craft can be adapted for an entryway, bedroom, hallway, or gallery wall while remaining approachable for beginners.
Read more DIY tips here.